Uploading Sermons to YouTube
Do this after you’ve finished Editing Sermons. You’ll need the .mp4 file you saved at the end of that page.
Step 1: Upload the Video
Go to youtube.com and sign in with the church’s Tech account. (Don’t use your personal account, or the sermon will be posted on your own channel.)
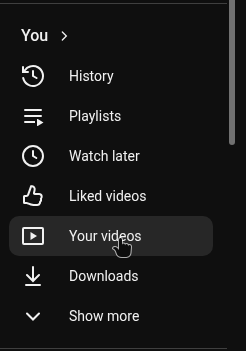
In the left sidebar, click Your videos.
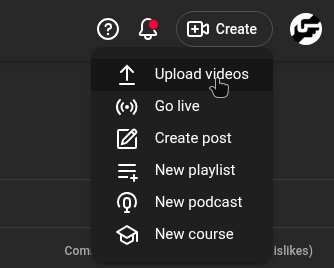
In the top right, click Create, then Upload videos.
Click Select files and choose the
.mp4file you saved in Kdenlive (for example20251123.mp4). Don’t choose the original camera or Zoom files.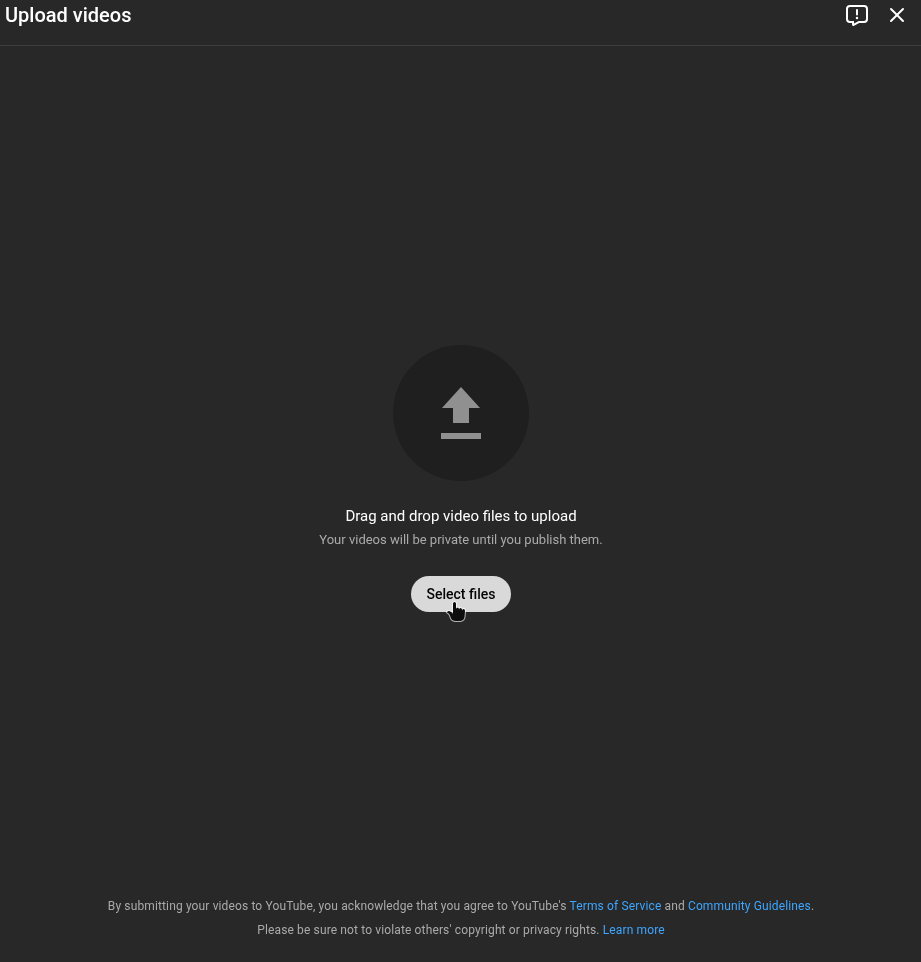
Step 2: Fill In the Details
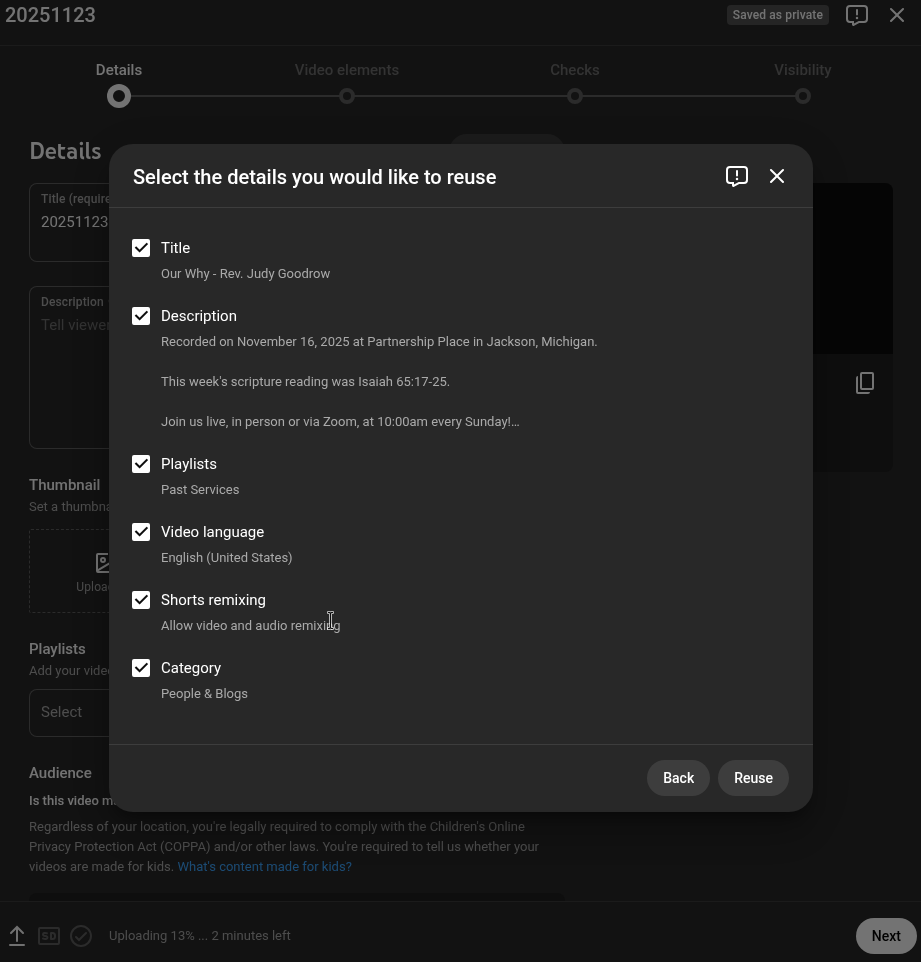
Click Reuse details and select last week’s sermon. This copies its title, description, and settings, which saves a lot of typing.
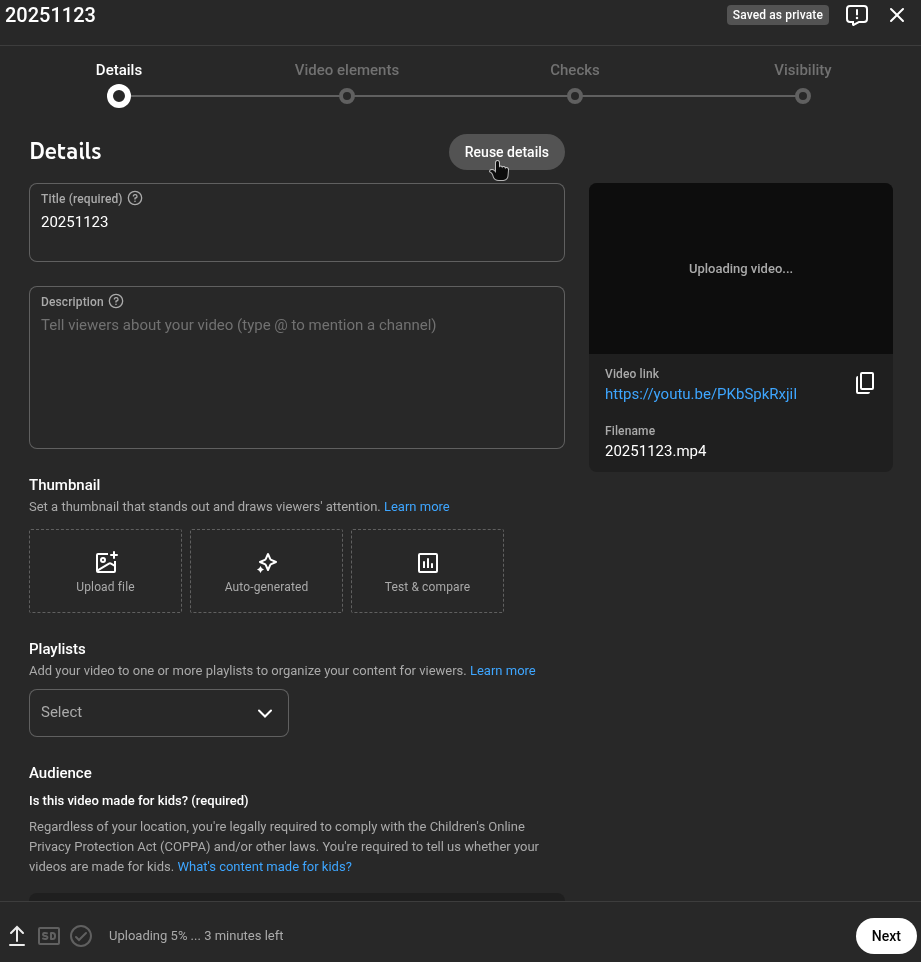
Leave all the options checked.
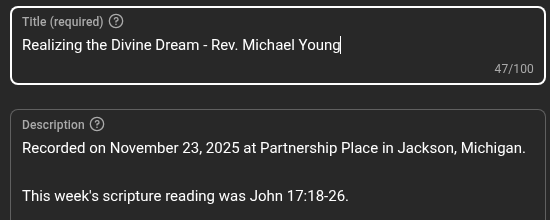
Update the title and description with this week’s sermon title, date, and scripture reading. It’s easy to miss one, so read them both through twice.
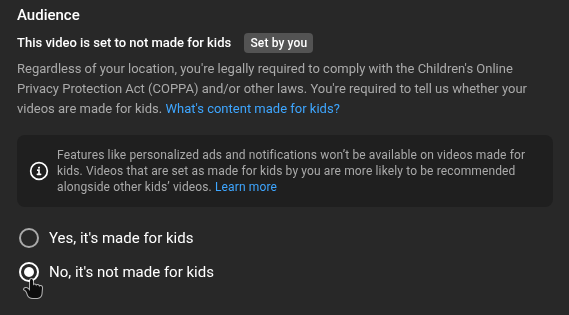
Select No, it’s not made for kids. This isn’t a content rating; it tells YouTube whether the video is aimed at children (for YouTube Kids, for example). Sermons are for a general audience.
Step 3: Publish
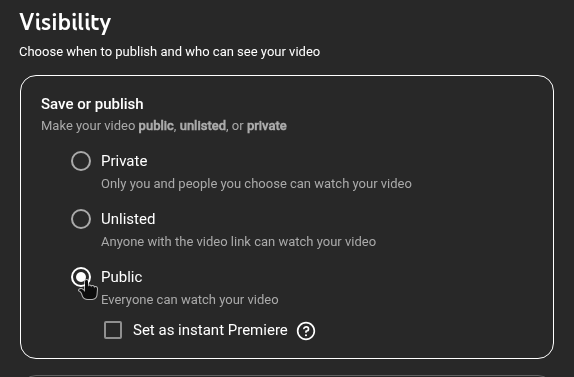
Click Next until you reach the Visibility section, then select Public.
Click Publish.
Don’t close the browser tab until the upload has finished. The progress is shown at the bottom of the window.
Step 4: Check It and Clean Up
- In Your videos, open the new sermon and play a little from the beginning, middle, and end. Check that you can hear the Pastor clearly, with no echo.
- Once you’re happy with it, delete last week’s video files from the camera’s SD card, then put the card back in the camera so it’s ready for next Sunday.
- Copy the video’s link (Share → Copy) for the Weekly Digest.