Editing Sermons
Each Sunday the sermon is recorded twice: by Zoom, and by the handheld camera. The camera has better video and Zoom has better sound, so you’ll combine the camera’s video with Zoom’s audio, cut out everything except the sermon, and save the result as one video file.
Before You Start
You’ll need:
- The Zoom login (it’s in the shared Bitwarden vault; ask the sysadmin if you don’t have the login for it)
- The handheld camera
- A computer with an SD card reader
- Kdenlive installed (see Video Editing)
Step 1: Download the Zoom Recording
Go to zoom.com and sign in.
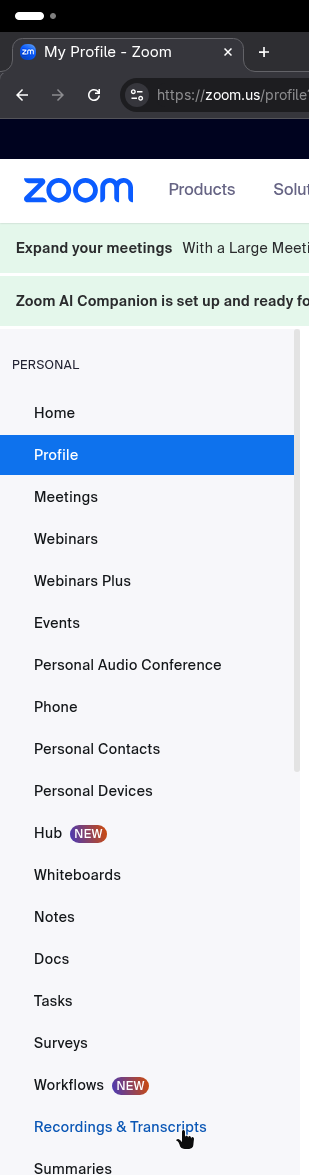
Click Recordings and Transcripts in the left sidebar.
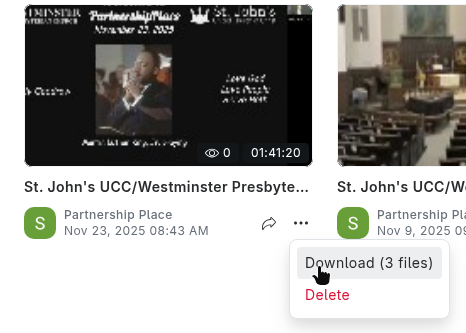
Find Sunday’s recording. Open its menu (☰) and click Download (3 files). If your browser asks whether to allow multiple downloads, click Allow.
The files go to your Downloads folder. The one you need ends in .m4a. That’s the audio.
Step 2: Copy the Camera Recording
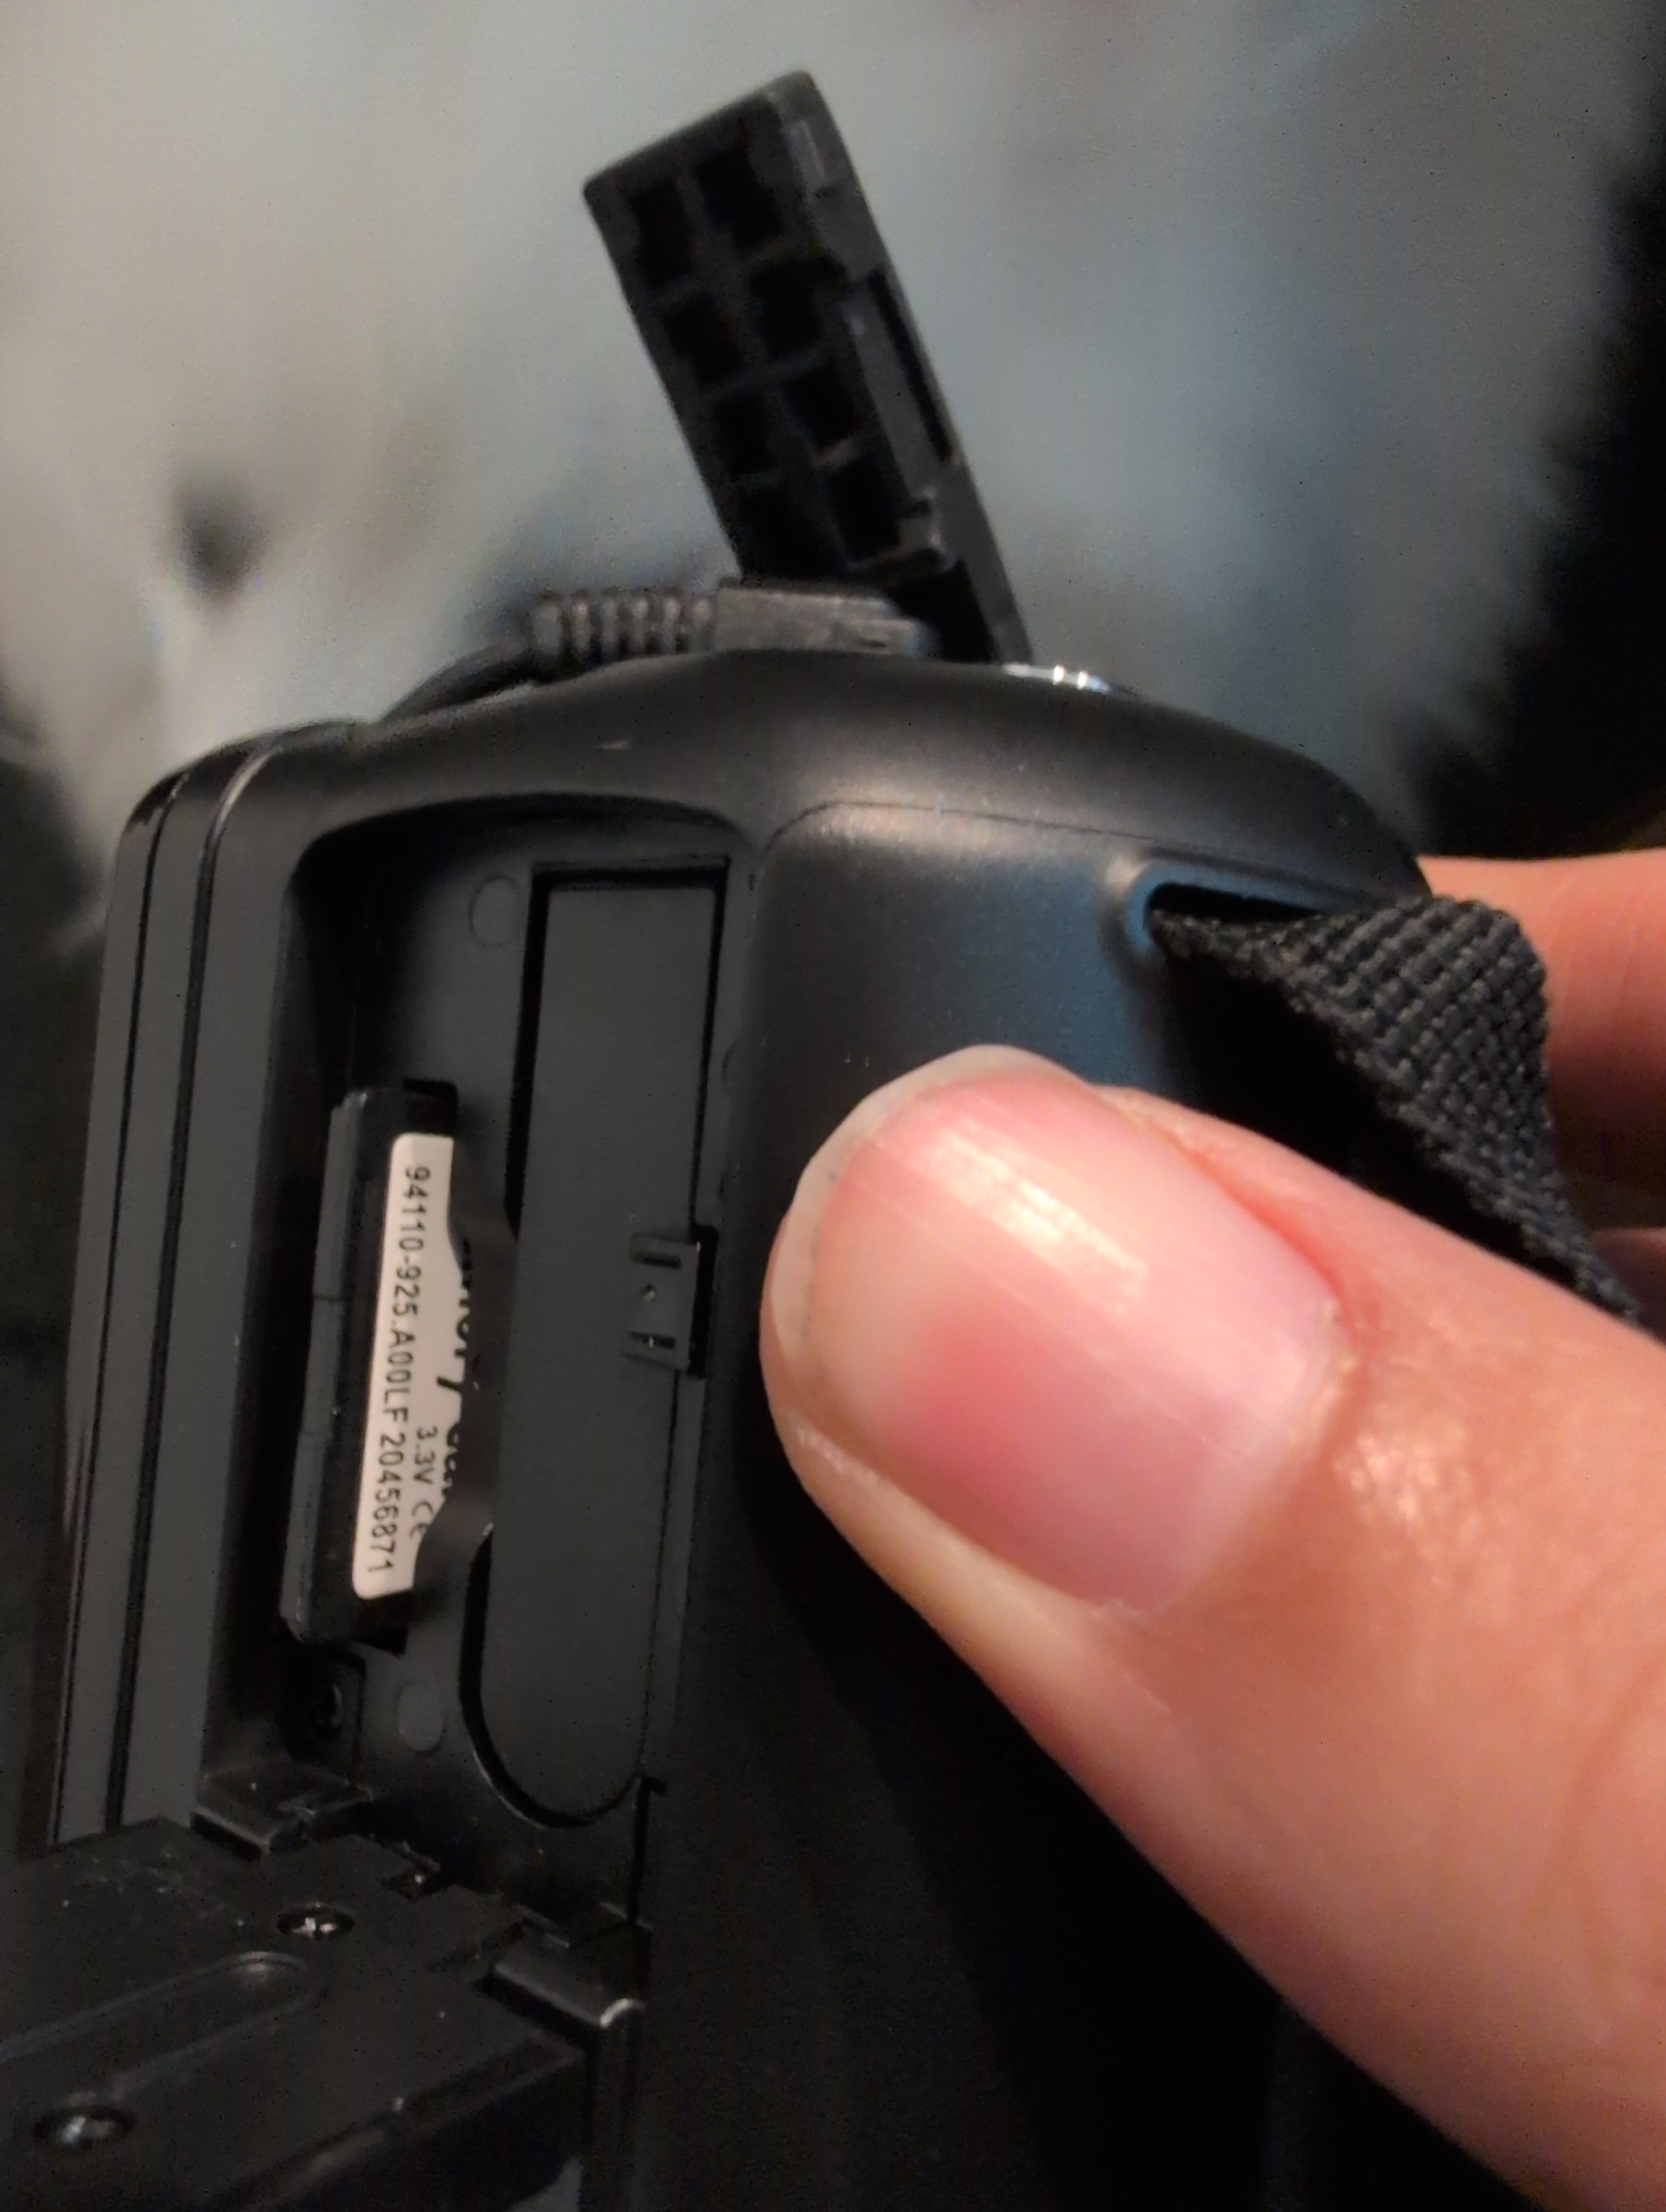
Open the small door on the bottom of the camera.
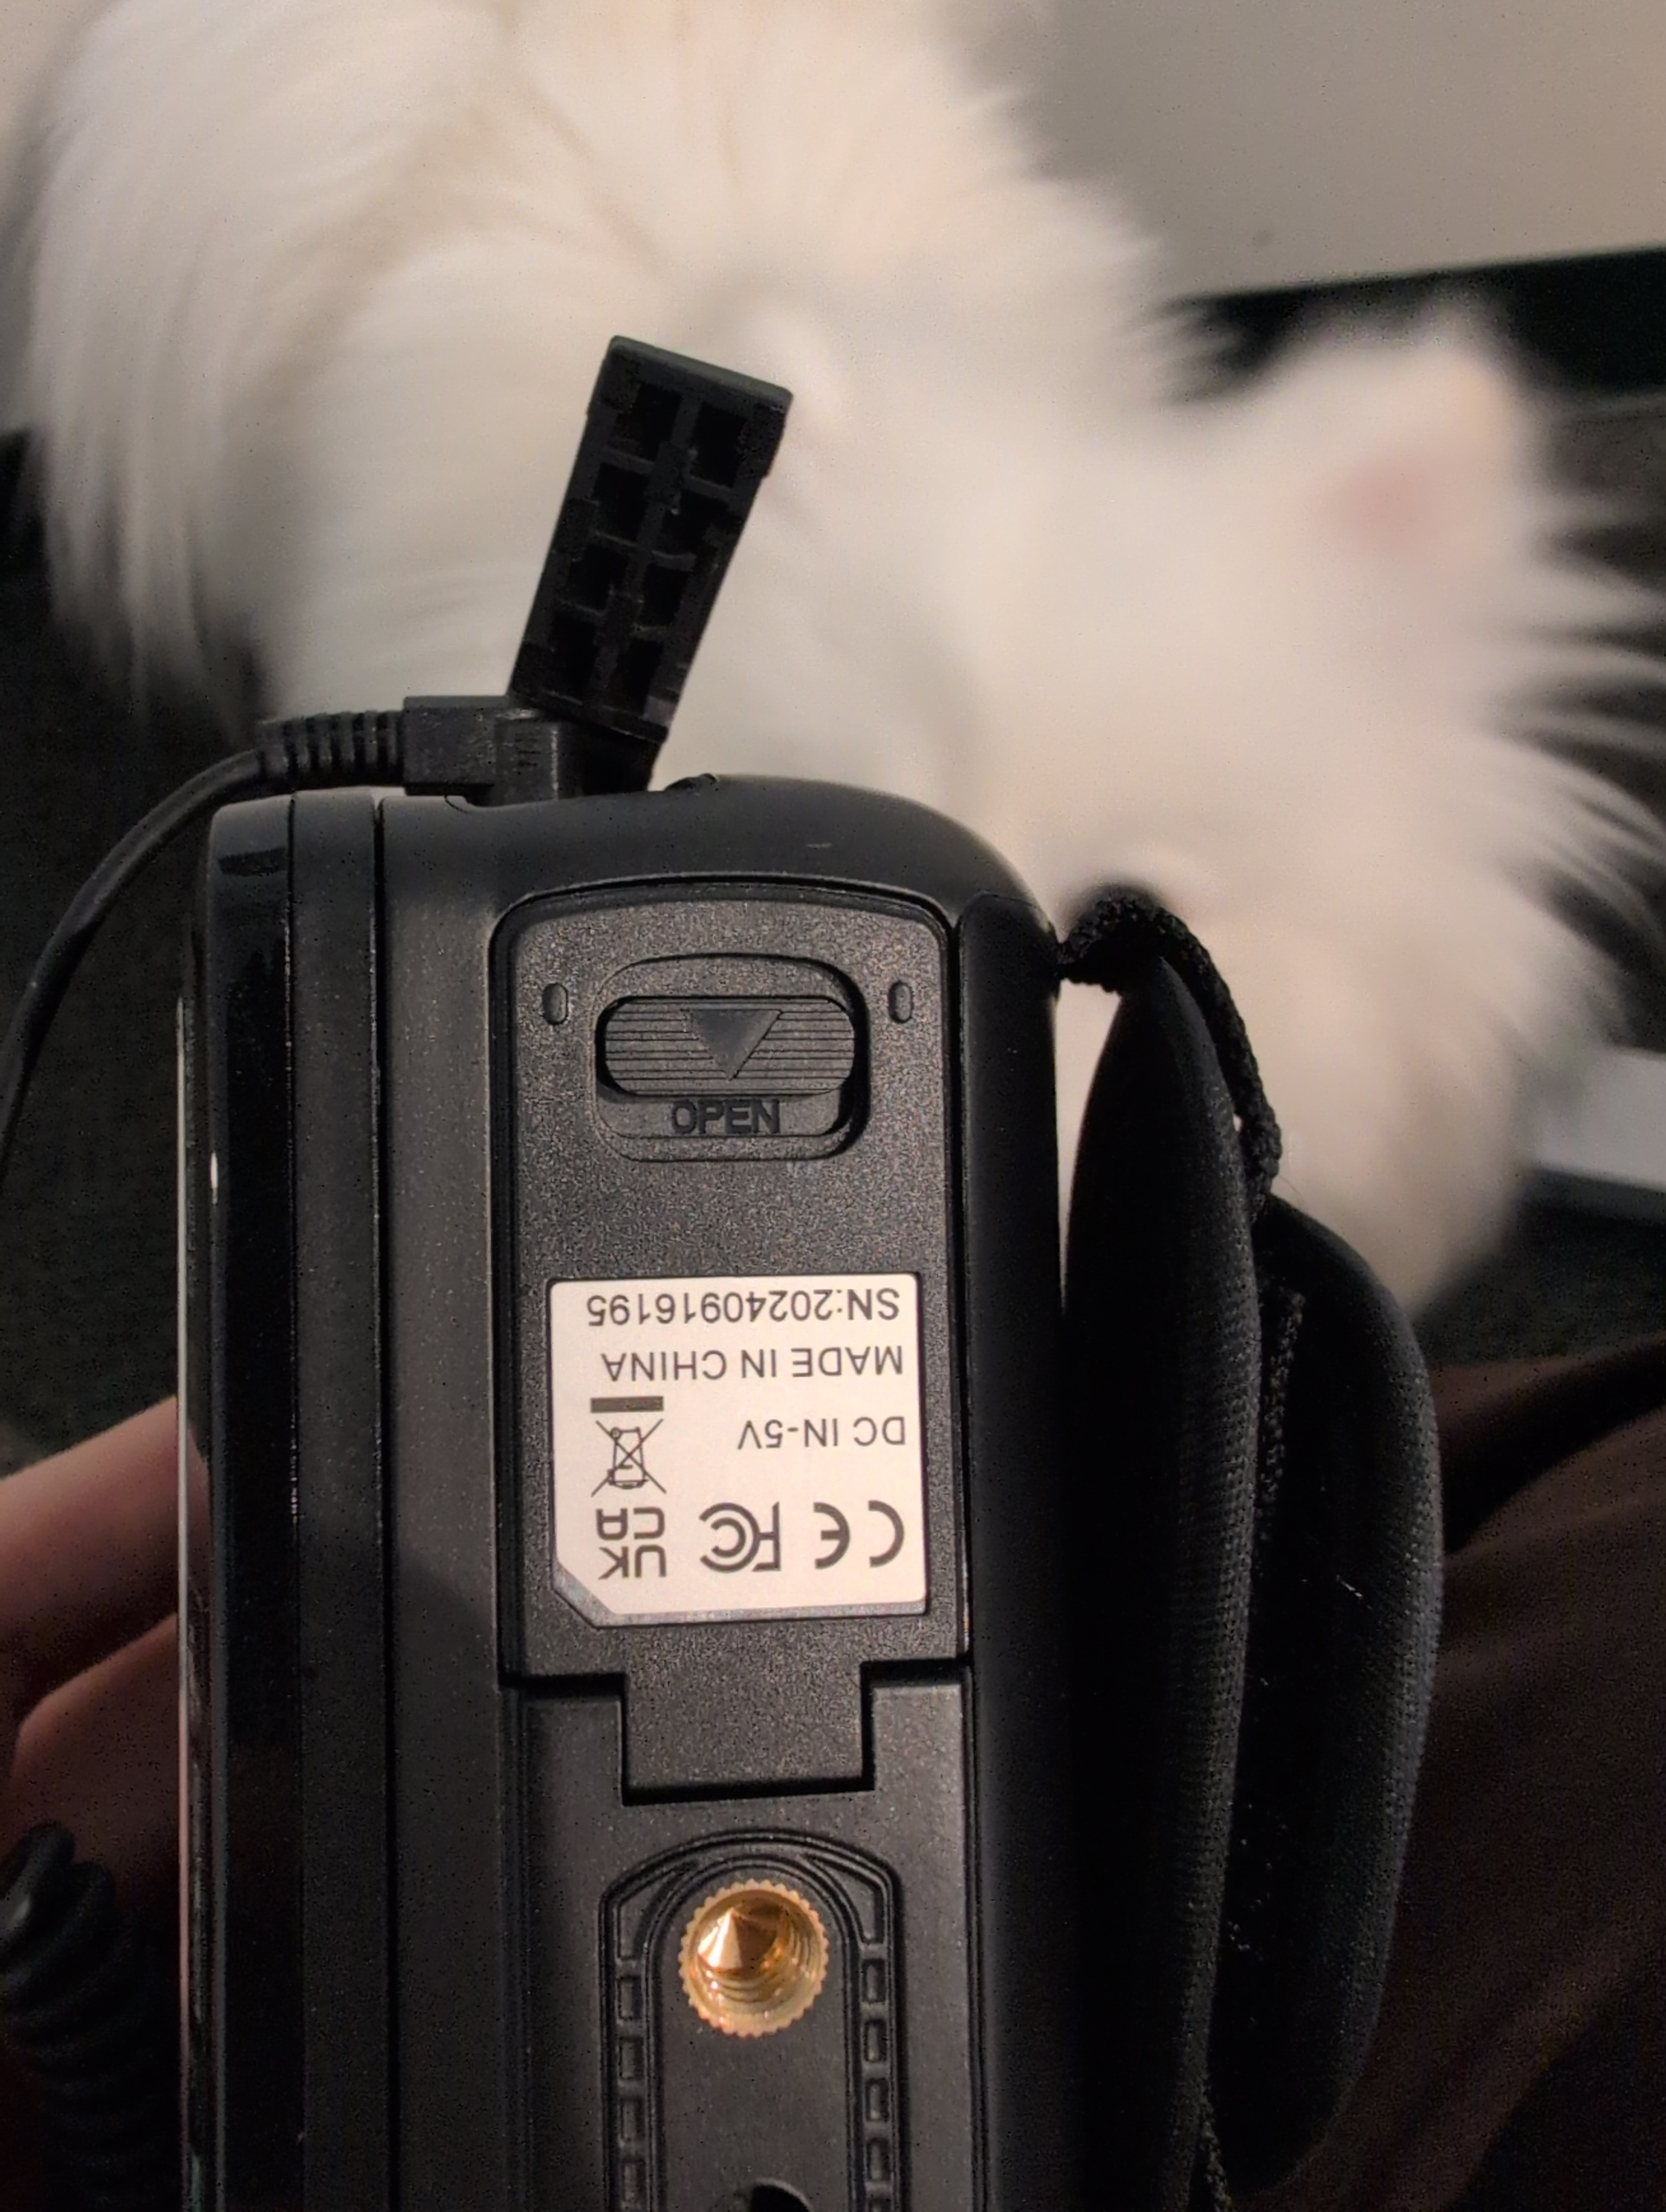
Find the SD card slot.
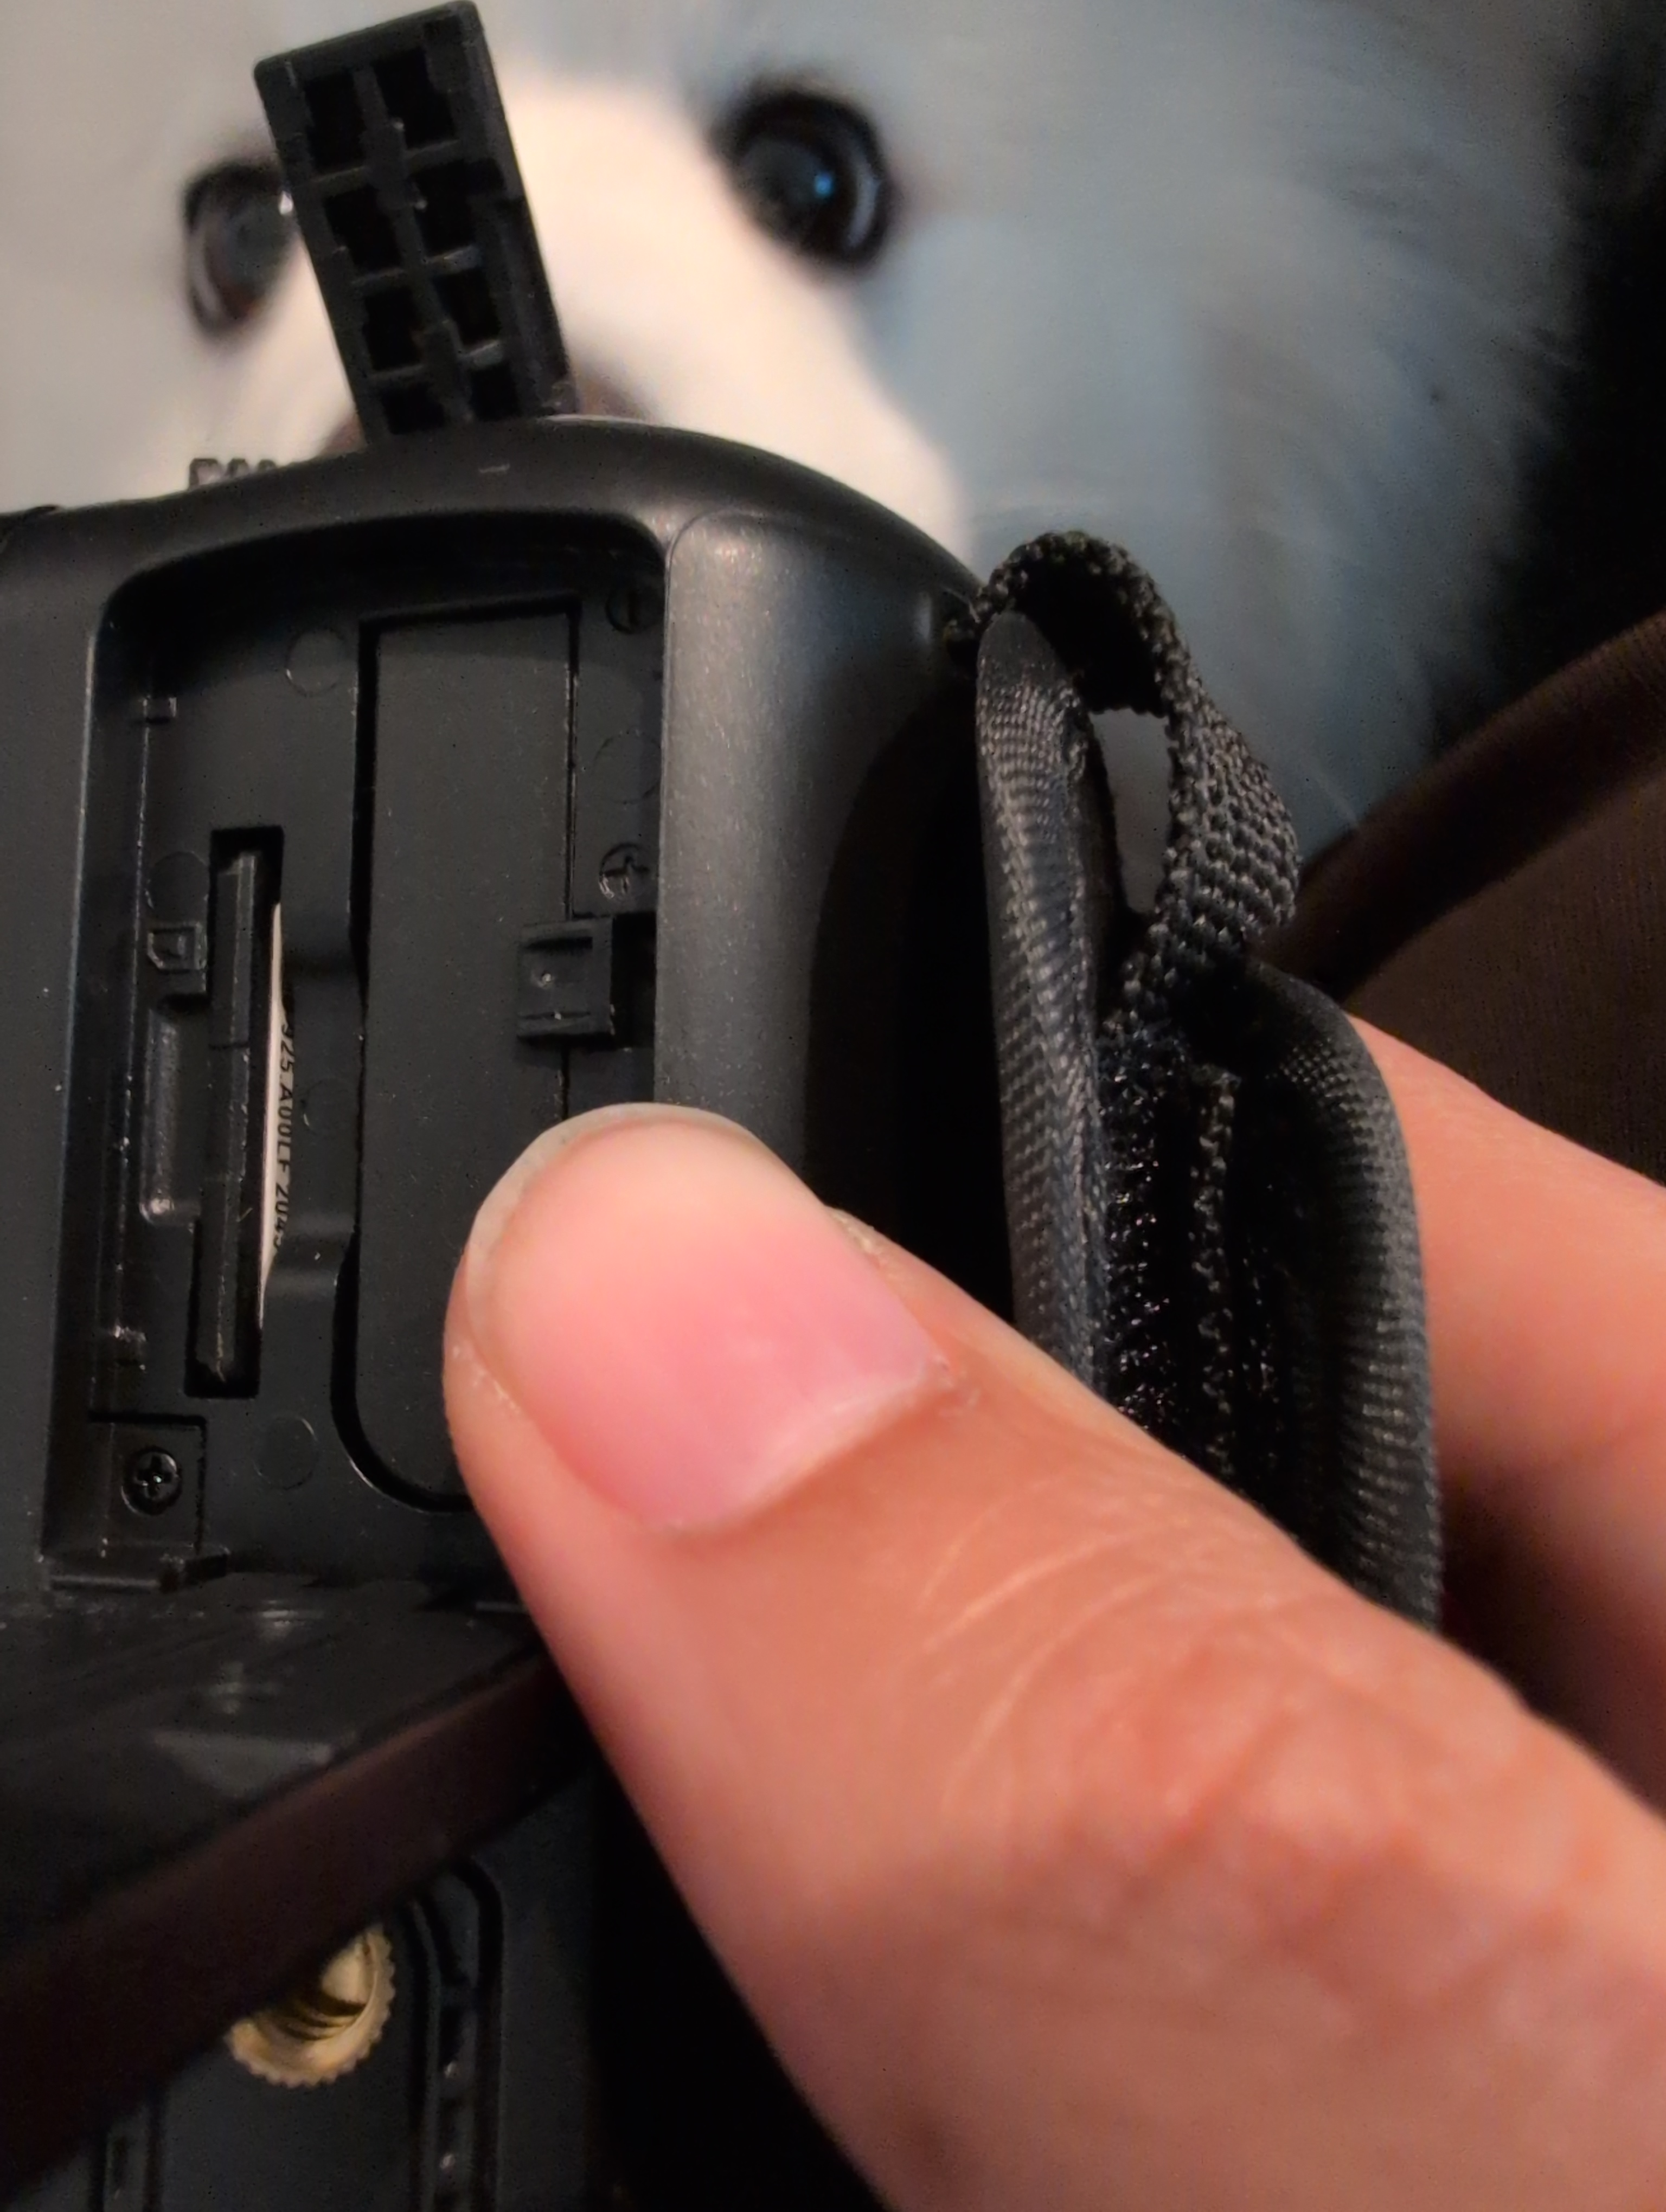
Press the SD card in gently. It will pop out so you can pull it out.
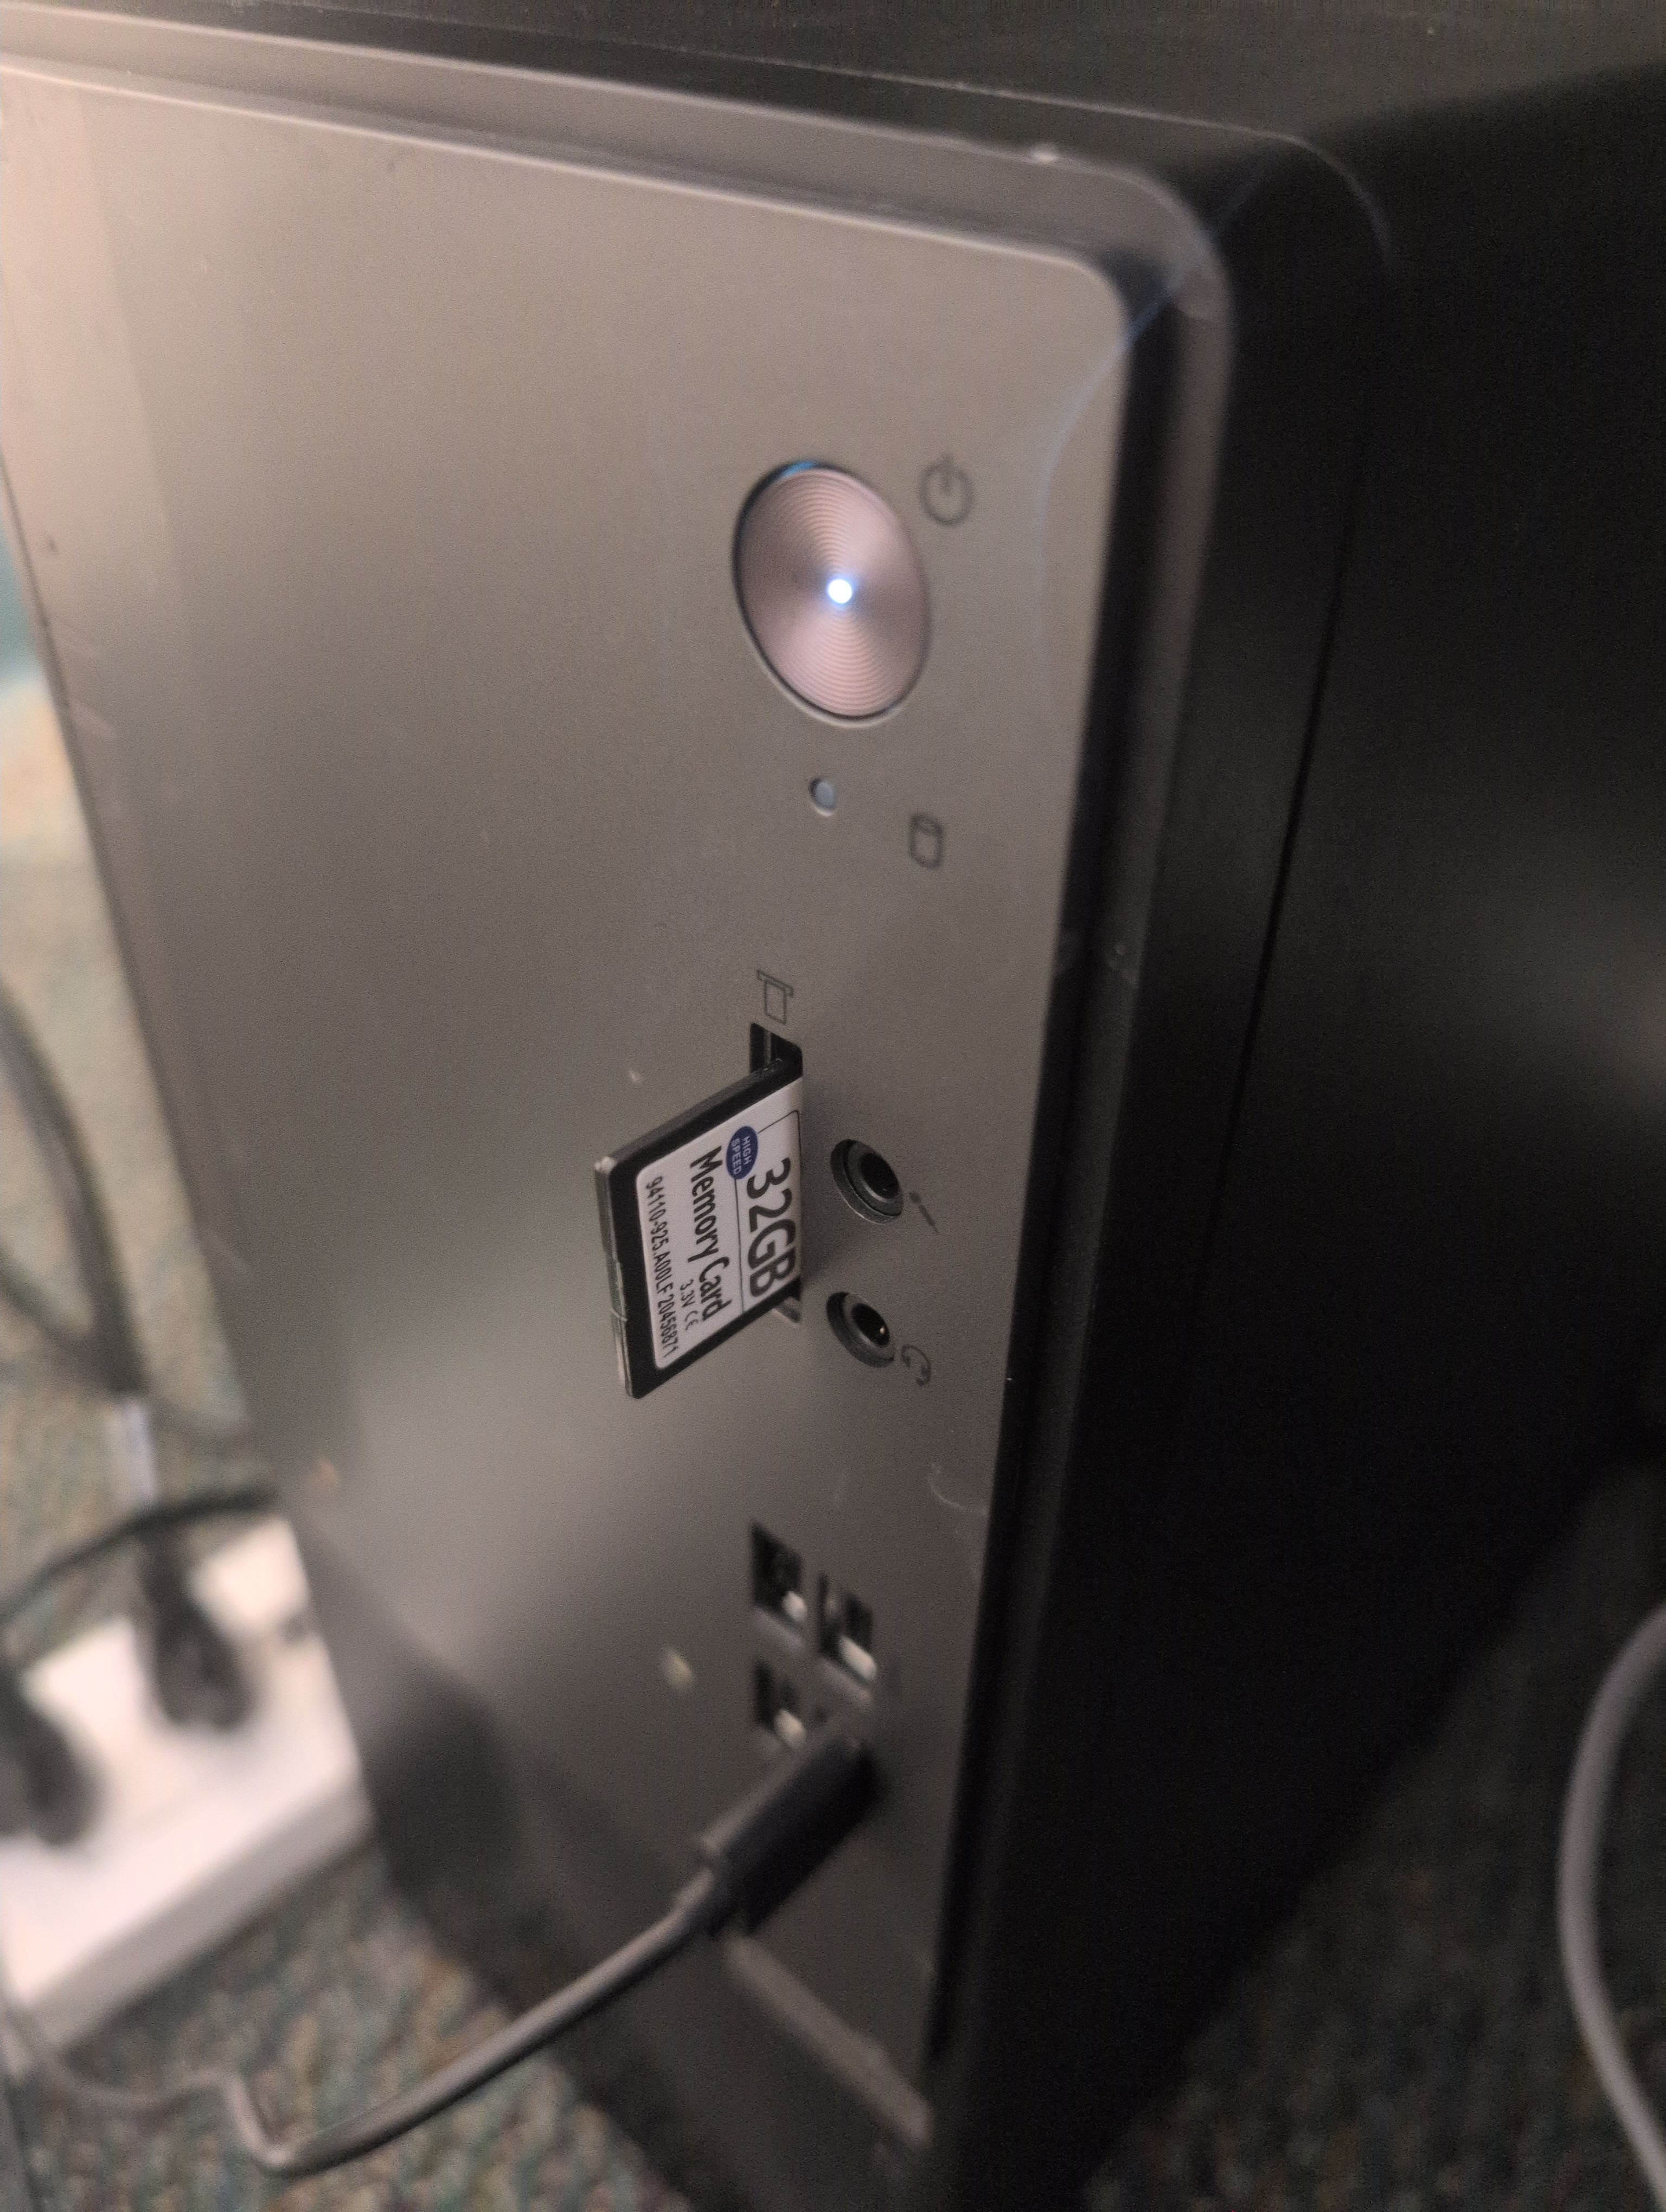
Put the SD card into your computer’s SD card reader.
Open the SD card in File Explorer (or Files on Linux) and copy the video files to your computer. They’ll have names like
Video1.mkv. (The example screenshot shows a file calledfakevideo.mkv.) Long recordings are sometimes split into two files. If so, copy both.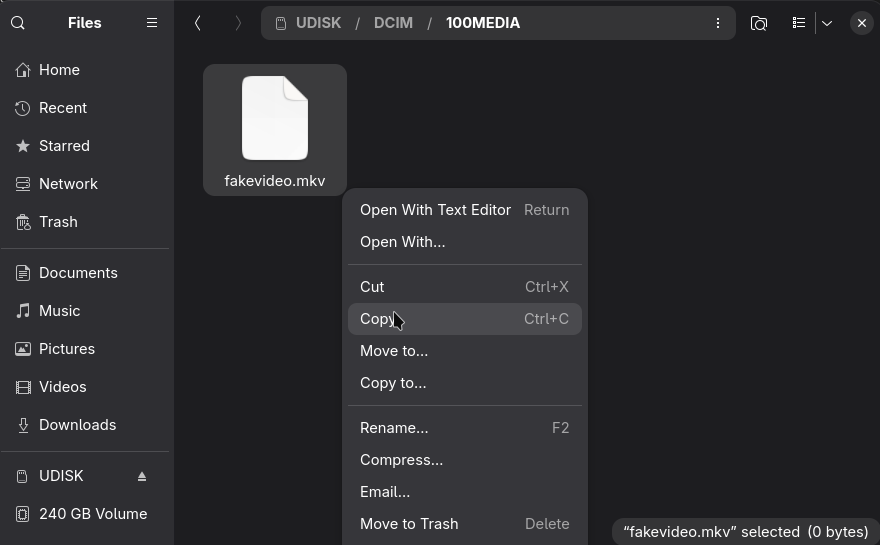
Don’t delete anything from the SD card yet. Wait until the finished video is on YouTube, so you still have the originals if something goes wrong.
Step 3: Put Both Recordings in Kdenlive
Open Kdenlive.
Right-click in the project bin (the box in the top left) and select Add Clip or Folder.
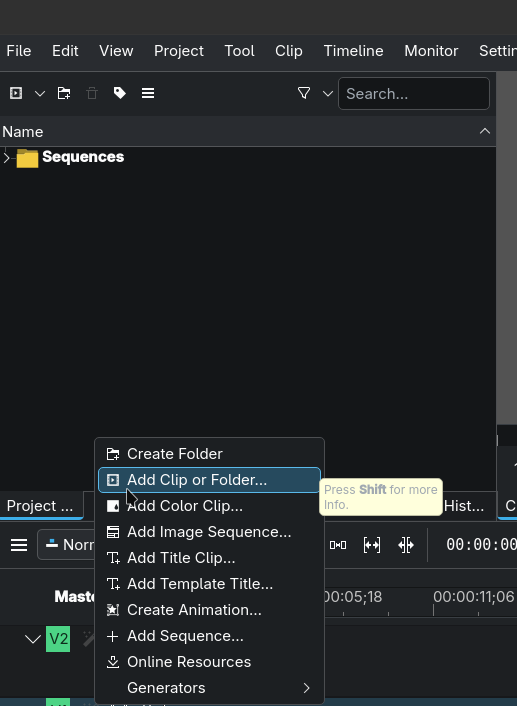
Select both: the camera’s video file (ends in
.mkv) and Zoom’s audio file (ends in.m4a). (In the example, both files came from Zoom because the camera wasn’t used that morning.)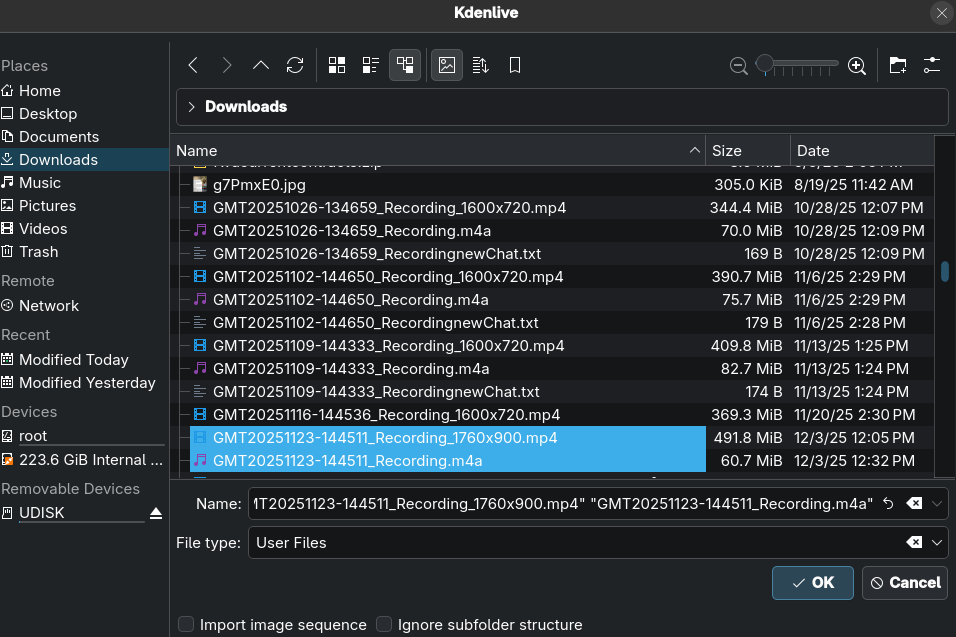
If Kdenlive asks whether to switch to the clip’s profile, click Yes.
Drag both clips from the project bin down onto the timeline (the long strip along the bottom).
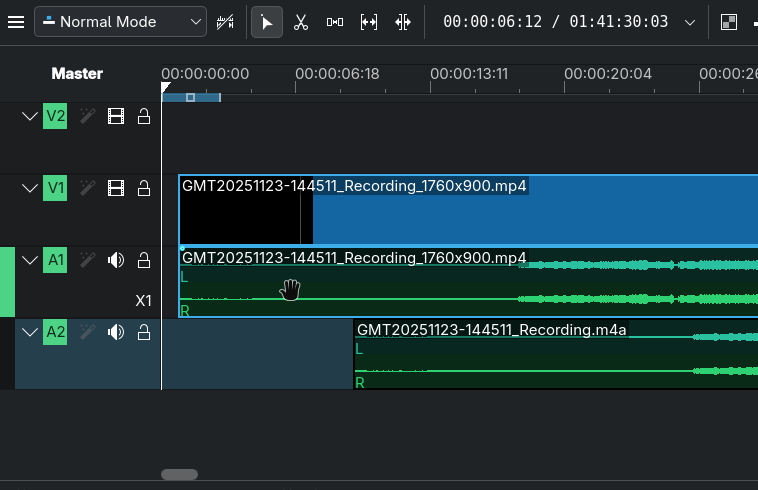
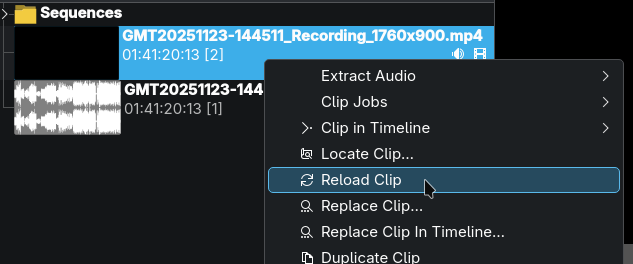
The audio clips should show a wavy line, called a waveform. If the video clip’s audio doesn’t show one, right-click the clip in the project bin and select Reload Clip. You’ll need the waveforms to see where people are talking.
Step 4: Cut Out Everything Except the Sermon
Two tools on the toolbar do all the cutting:
- Razor tool (scissors): splits a clip in two where you click.
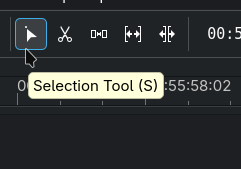
- Selection tool (arrow): selects a clip so you can delete it.
Find the brief pause after the Pastor finishes the opening prayer, just before the sermon starts. Usually the camera recording doesn’t have much before the sermon, so it won’t take long to find.
Select the razor tool…
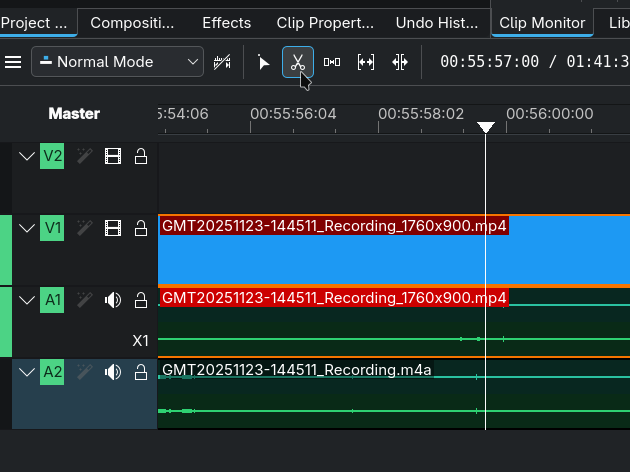
…and click the clip at that pause to split it.
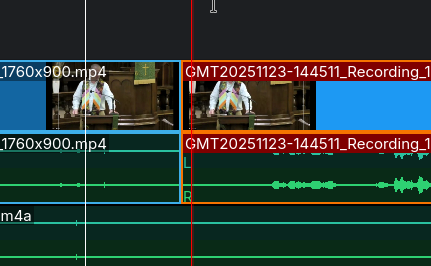
Switch back to the selection tool, click the part before the split, and press Delete.
Do the same at the end: split the clip at a quiet moment just after the sermon ends, and delete everything after it.
Made a mistake? Press Ctrl+Z to undo. You can undo as many times as you need.
Step 5: Line Up the Zoom Audio With the Video
Kdenlive can line the two recordings up for you automatically.
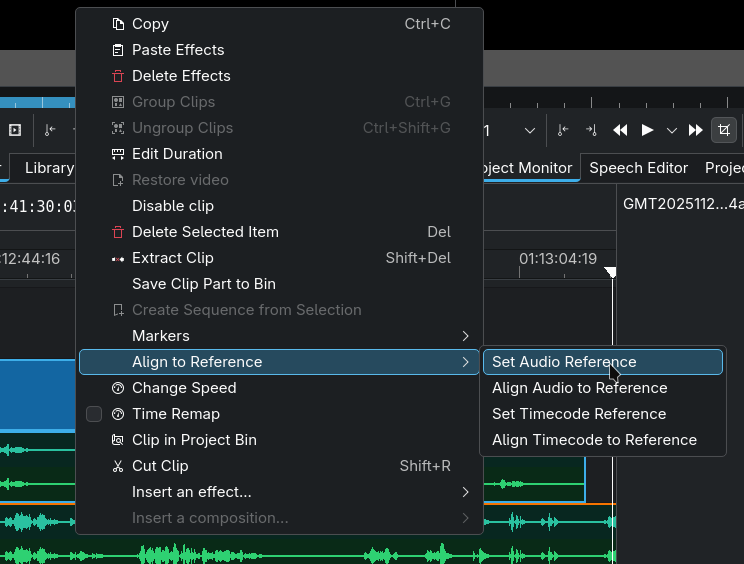
Right-click one of the audio clips in the timeline and select Align to Reference → Set Audio Reference.
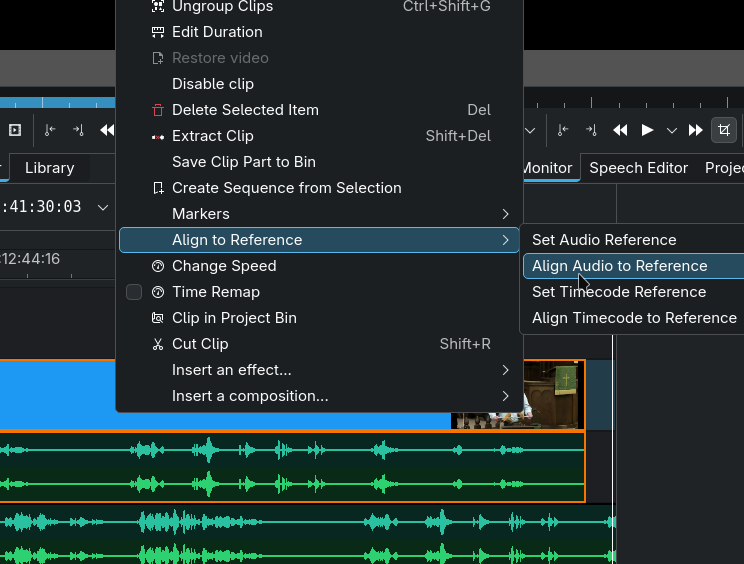
Right-click the other audio clip and select Align to Reference → Align Audio to Reference.
A small progress bar appears at the bottom of the window. Wait for it to finish.
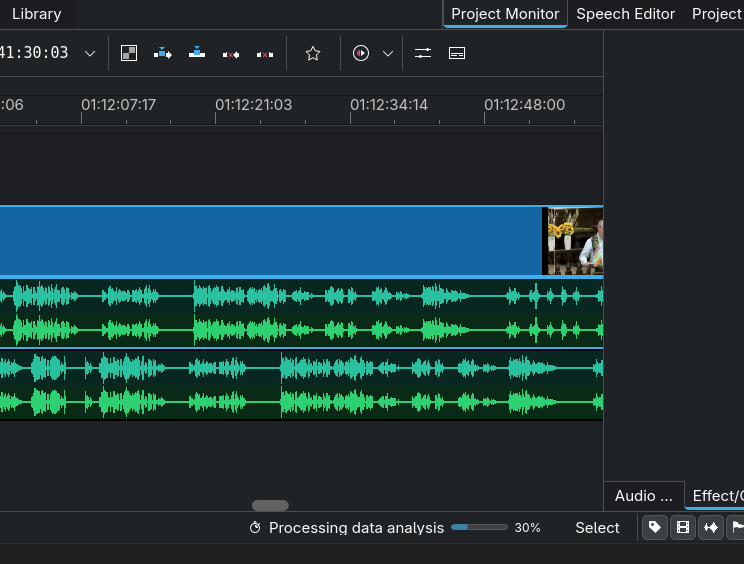
When it’s done, the clips move so the sound lines up. (In the example, the waveforms are identical because both files came from Zoom.)
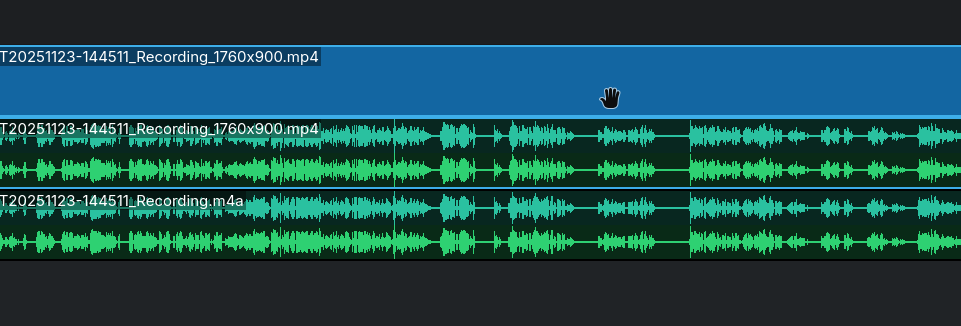
Trim the Zoom audio clip so that it starts and ends at exactly the same points as the video. Zooming in on the timeline makes this easier: hold Ctrl and scroll the mouse wheel.
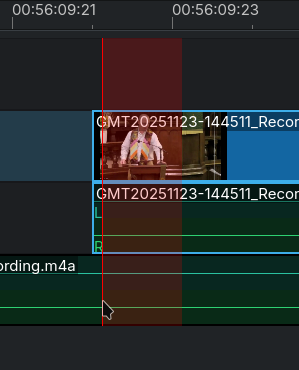
Drag both clips together to the very beginning of the timeline. Otherwise the finished video starts with a long black, silent gap.
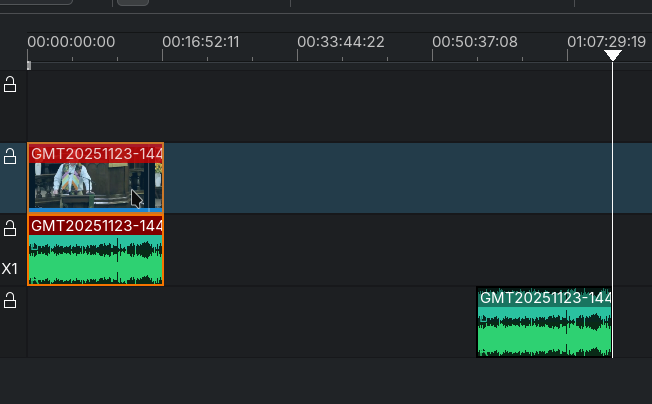
Mute the camera’s audio track by clicking the speaker icon at the left end of that track. If you skip this, both recordings play at once and the sermon sounds echoey and hard to understand.
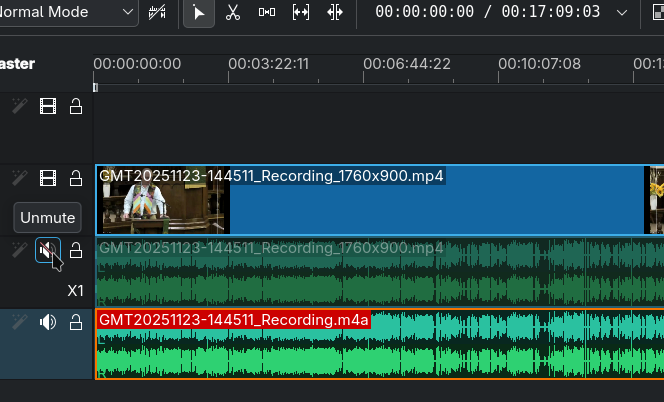
Press the spacebar to play part of the video. Check that the Pastor’s mouth matches the words and that you hear no echo.
Step 6: Save the Finished Video
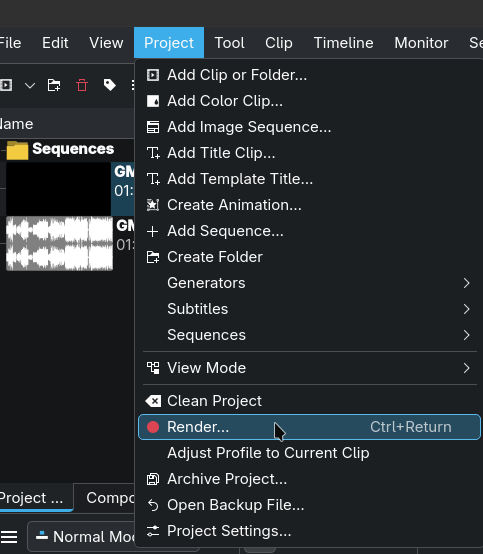
Select Project → Render… from the menu bar.
Choose the preset Generic (HD for web, mobile devices…) → MP4-H264/AAC.
Change the output file name to the service date, for example
20251123.mp4. If you don’t, Kdenlive calls ituntitled.mp4, which is easy to mix up with last week’s video.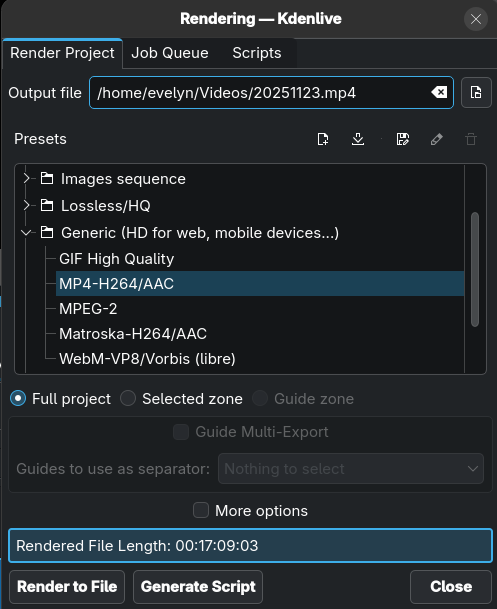
Click Render to file and wait. This can take a while. Leave Kdenlive open until it finishes.
When it’s done, continue to Uploading Sermons.