Monthly Newsletter
The newsletter goes out once a month in four ways:
- Download it from Canva.
- Print and mail it.
- Post it on the website.
- Email it with Mailchimp.
Do the steps in this order. The email links to the copy on the website, so the website step has to be finished before you send the email.
Before You Start
Have these ready:
- The Canva and Mailchimp logins (they’re in the shared Bitwarden vault; ask the sysadmin if you don’t have the login for it)
- A GitLab account with access to the website (ask the sysadmin)
- Newsletter paper, wafer seal stickers, address labels, and stamps
Step 1: Download From Canva
Go to canva.com and sign in with the church account.
Open this month’s newsletter design (December 2025 in this example).
Click File in the top left corner, then click Download.
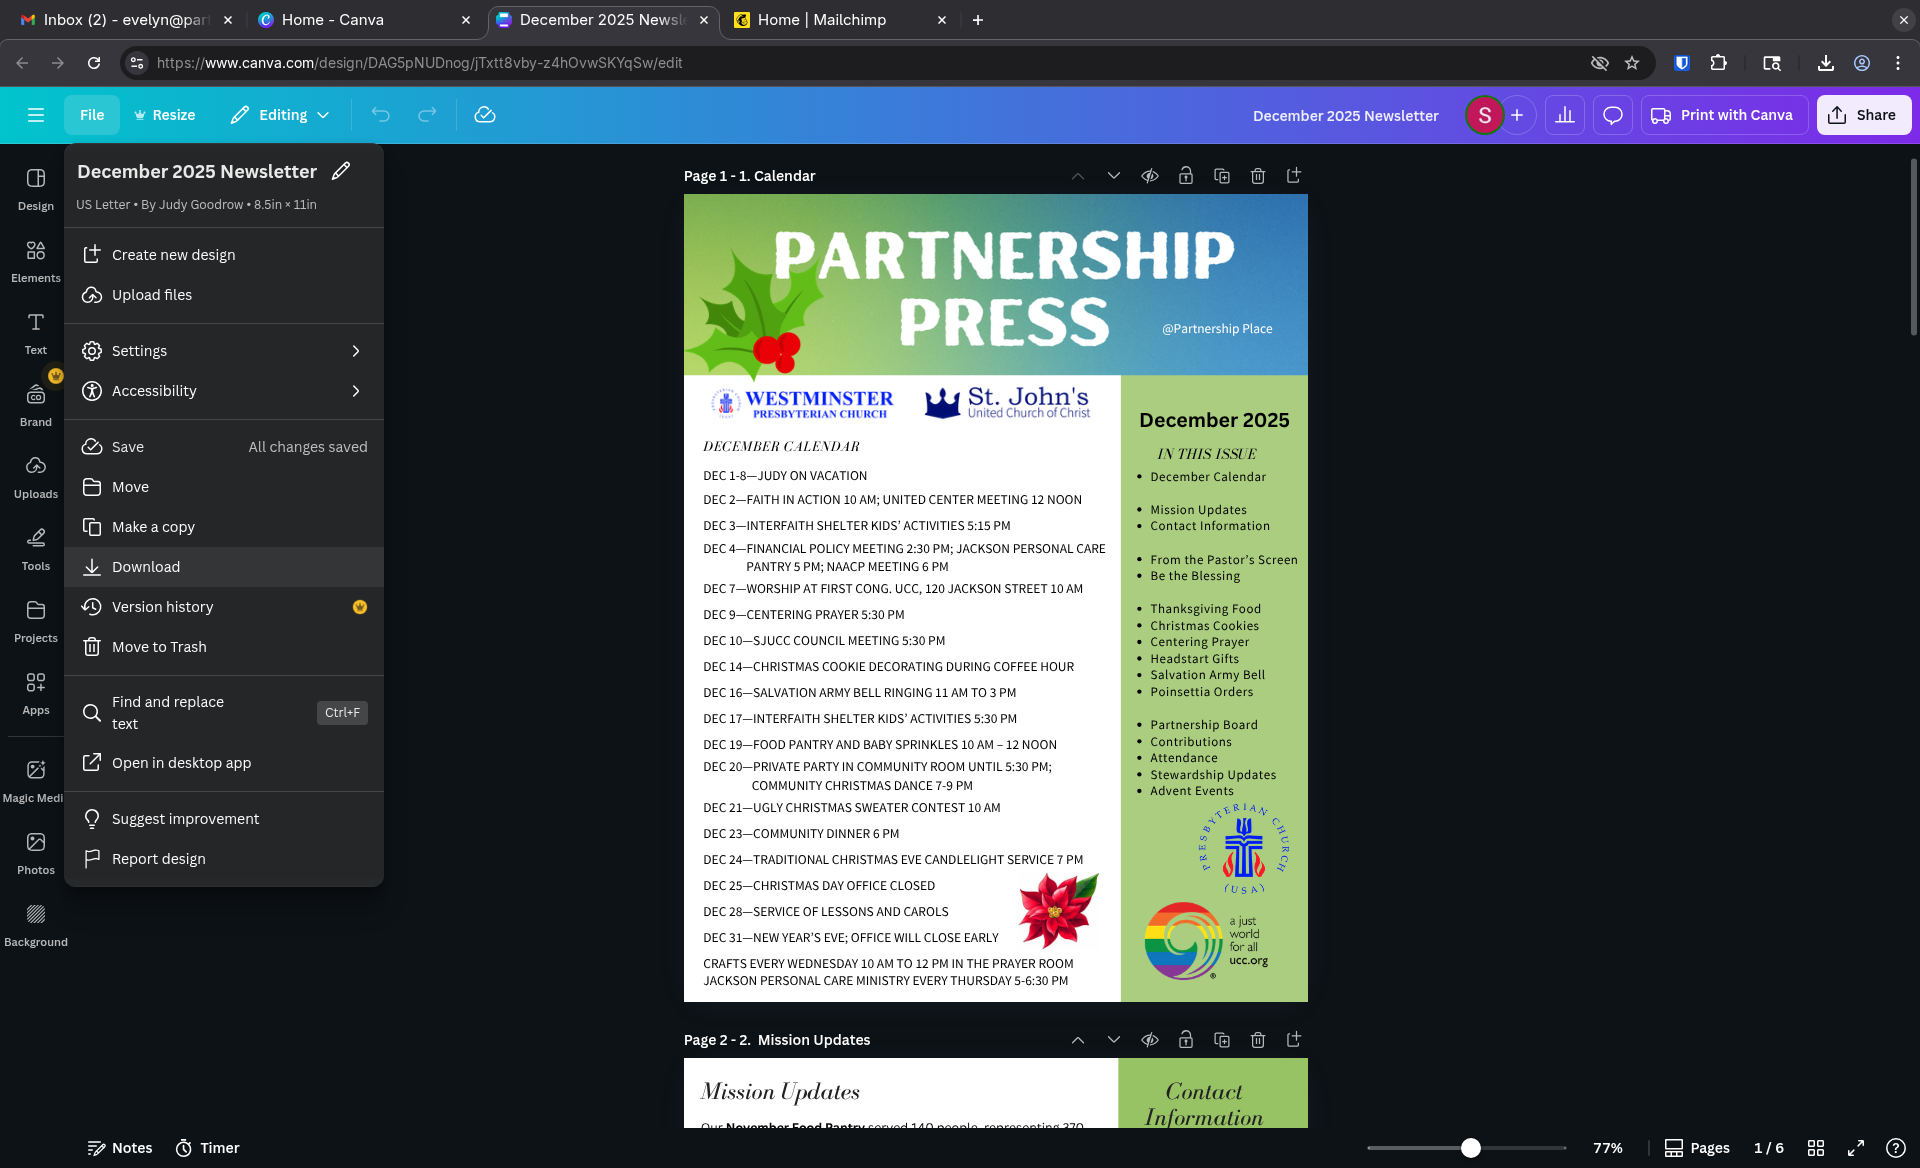
Download the design twice:
- Once as PNG, for the email
- Once as PDF Print, for printing and the website
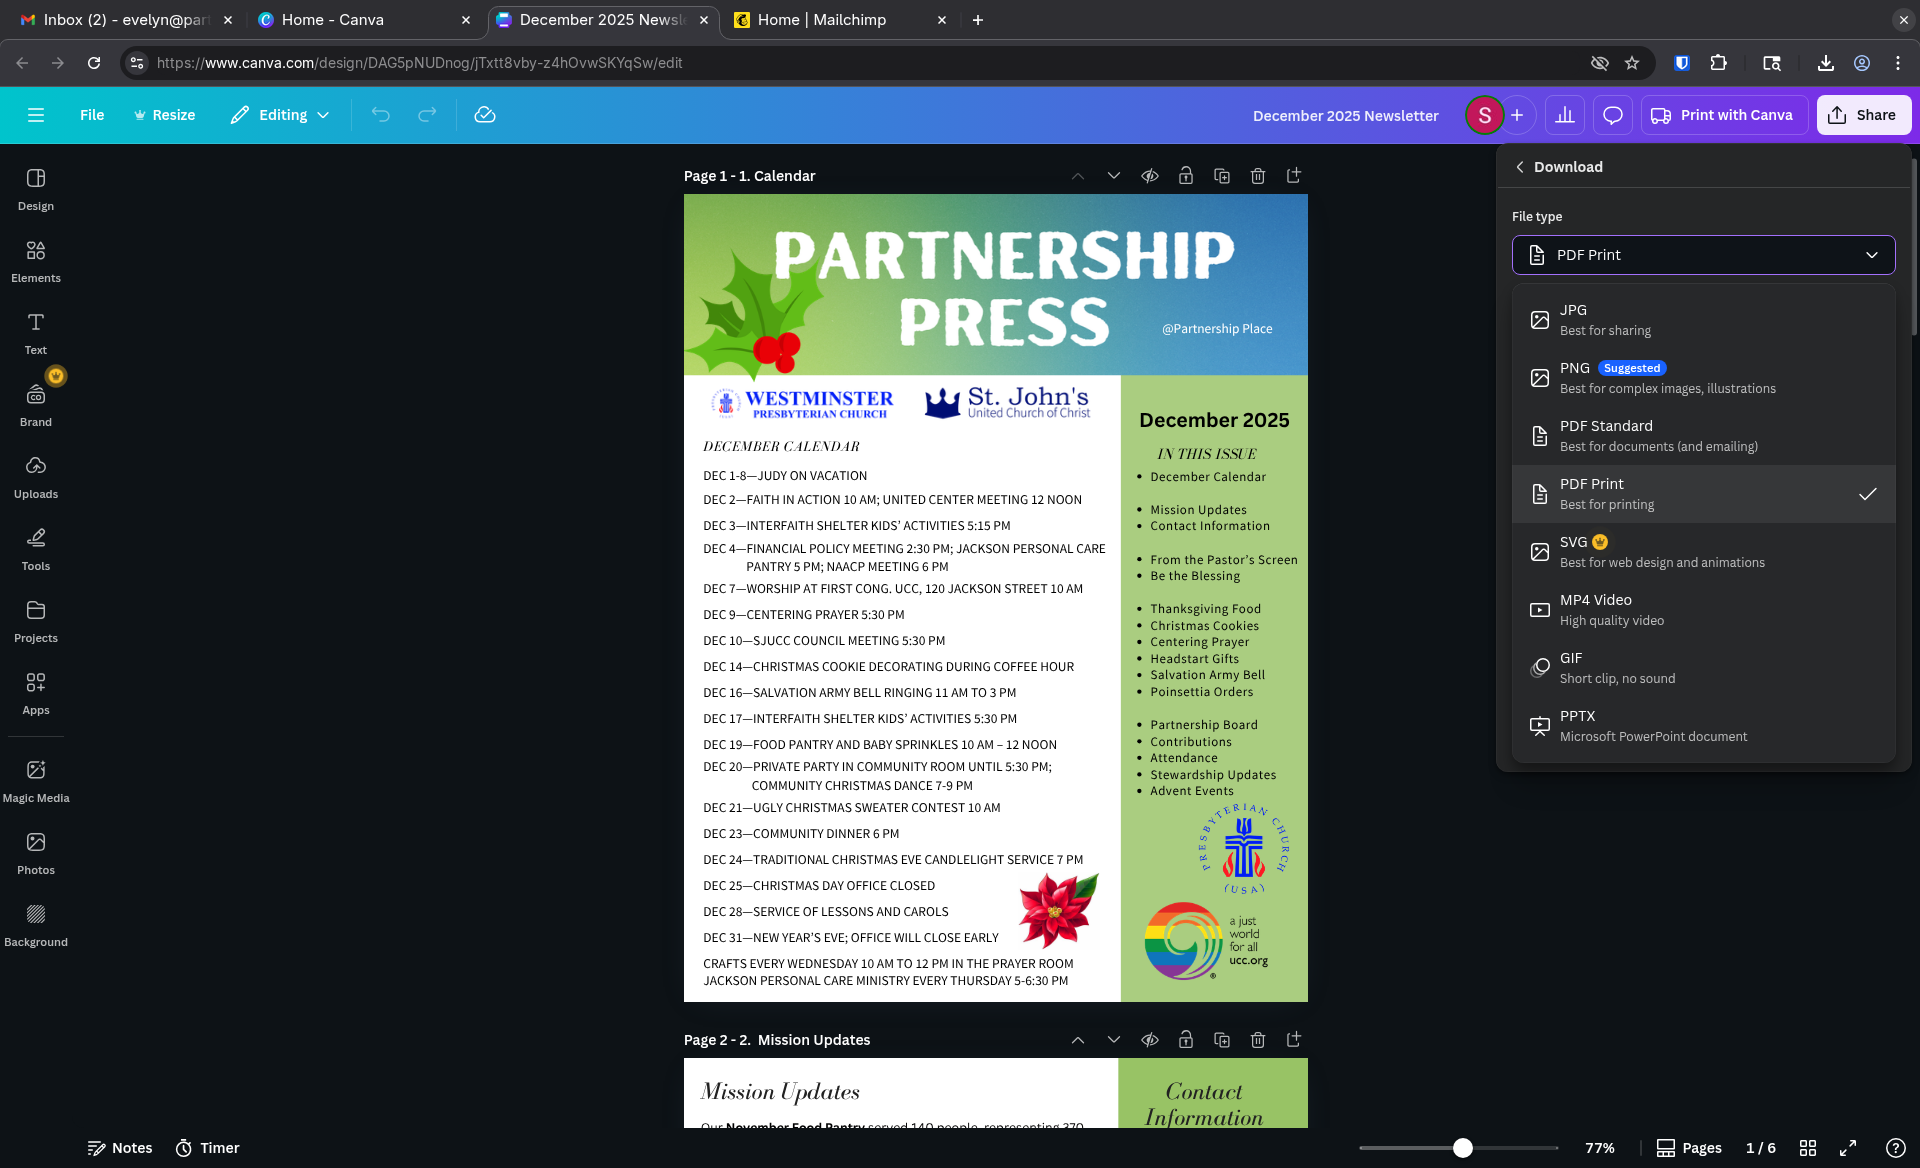
If the PNG download arrives as a
.zipfile, right-click it and choose Extract All (Windows) or Extract Here (Linux) to get the images out.Find both downloads in your Downloads folder.
Step 2: Print and Mail
- Load the printer with the heavier newsletter paper (about 24 lb HP Premium).
- Print the PDF with these settings:
- Color
- Double-sided
- Flip on long edge
- About 30 copies
- Staple each copy.
- Set a few copies aside to leave in the sanctuary for people to pick up.
- Fold the rest with the folding machine, using Letter Bifold: set the top bar to
Cand reverse the bottom bar. Fold one test copy first and check it before doing the rest. - Seal each folded newsletter with a wafer seal sticker. The stickers are kept in one of the cabinets.
- Add an address label and a stamp to each one, then mail them.
Step 3: Post It on the Website
You can do this in your web browser (Option A, easiest) or with the website code on your computer (Option B).
First, rename the PDF to the year and month followed by Newsletter.pdf. For December 2025 that’s:
202512Newsletter.pdfThe capital N matters, and there are no spaces. If the name is even slightly different, the link in the email won’t work.
Option A: In Your Web Browser (Easiest)
Go to gitlab.com/sjucc/ppweb and sign in.
Click through these folders, one at a time:
content→english→pages→partnership-press.Above the file list, click the + button, then Upload file. Choose your renamed PDF.
In the Commit message box, write what you did, for example
Add December 2025 newsletter. Leave everything else as it is, and click Upload file.Go back to the
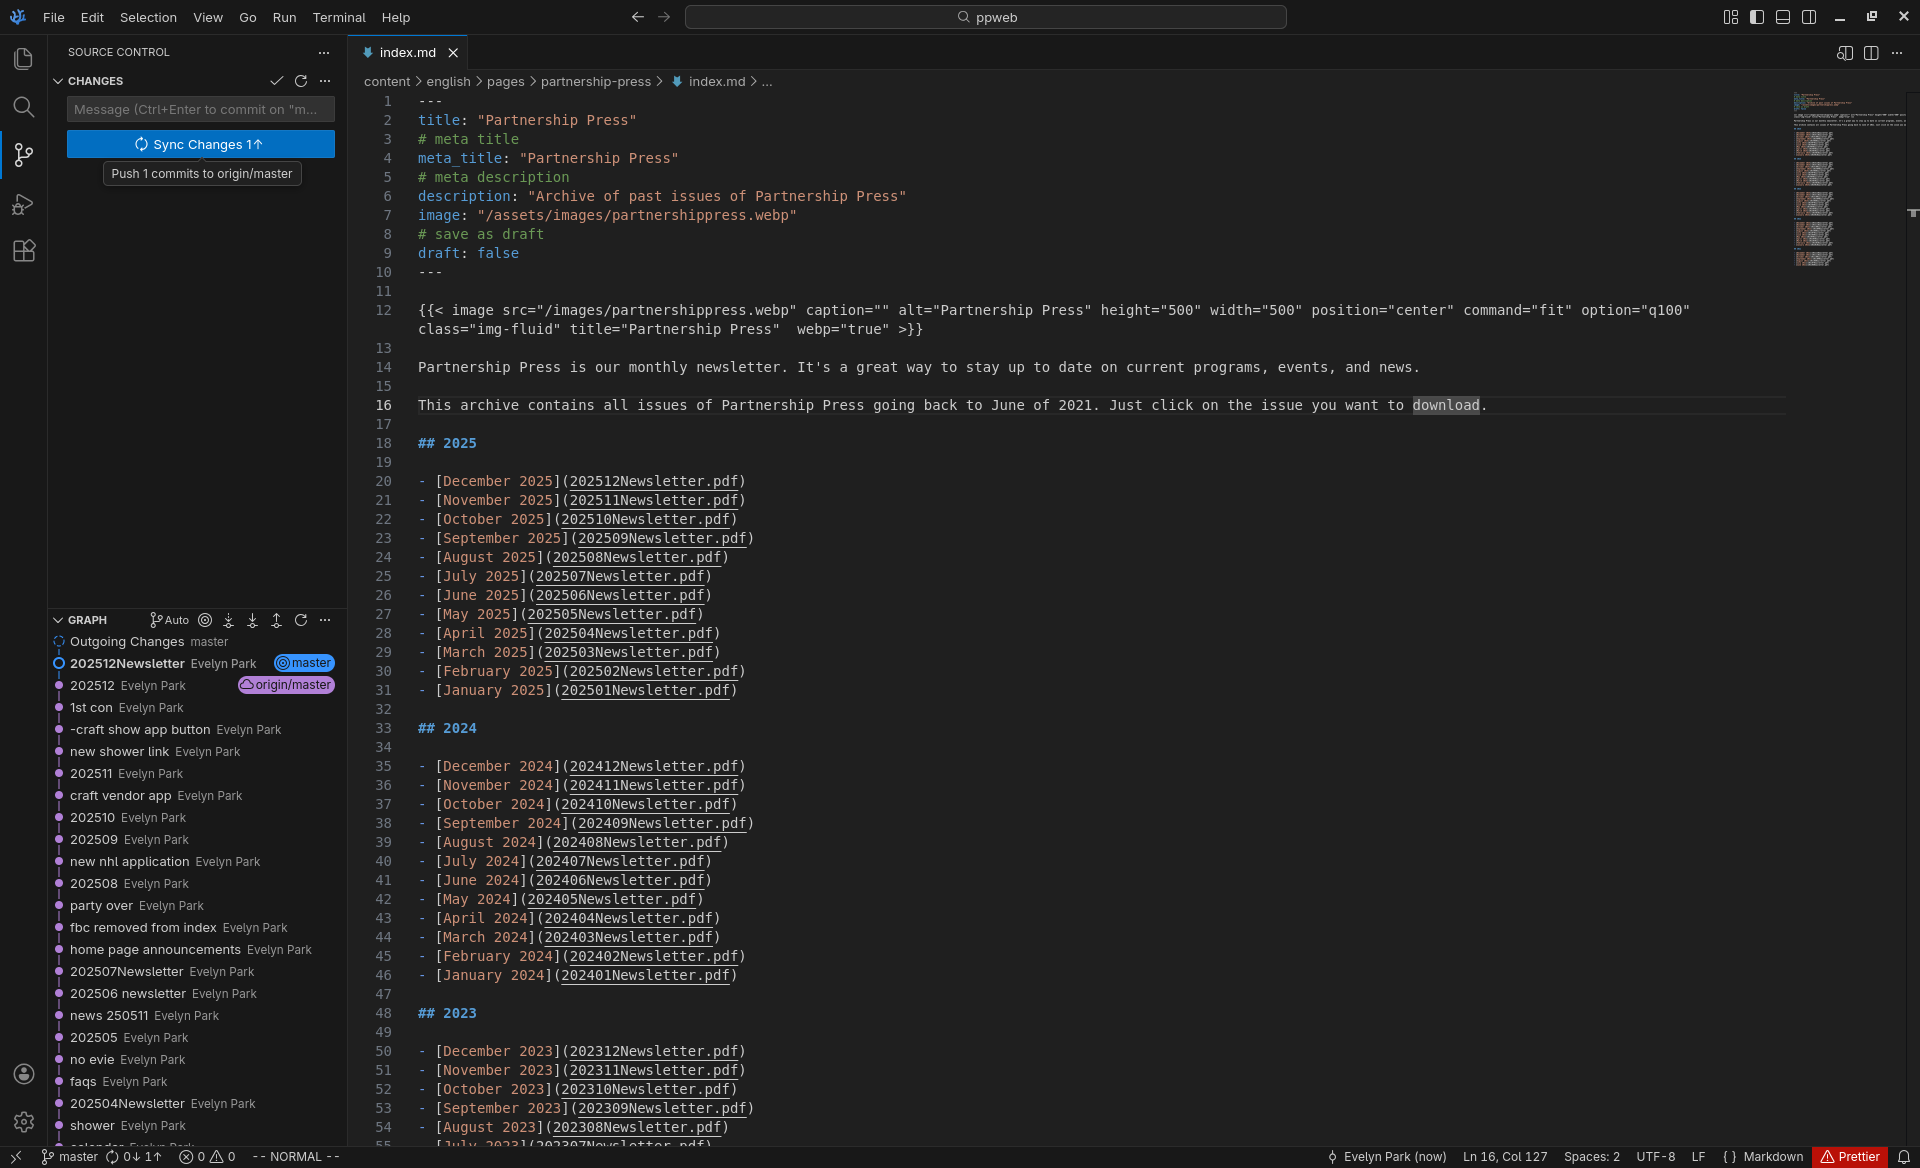
partnership-pressfolder and click the fileindex.md.Click Edit, then Edit single file.
Find the line for last month’s newsletter. Copy that whole line and paste a copy of it next to the original, following the order the other lines are in. Then change the month name and the file name in the copy to this month’s.
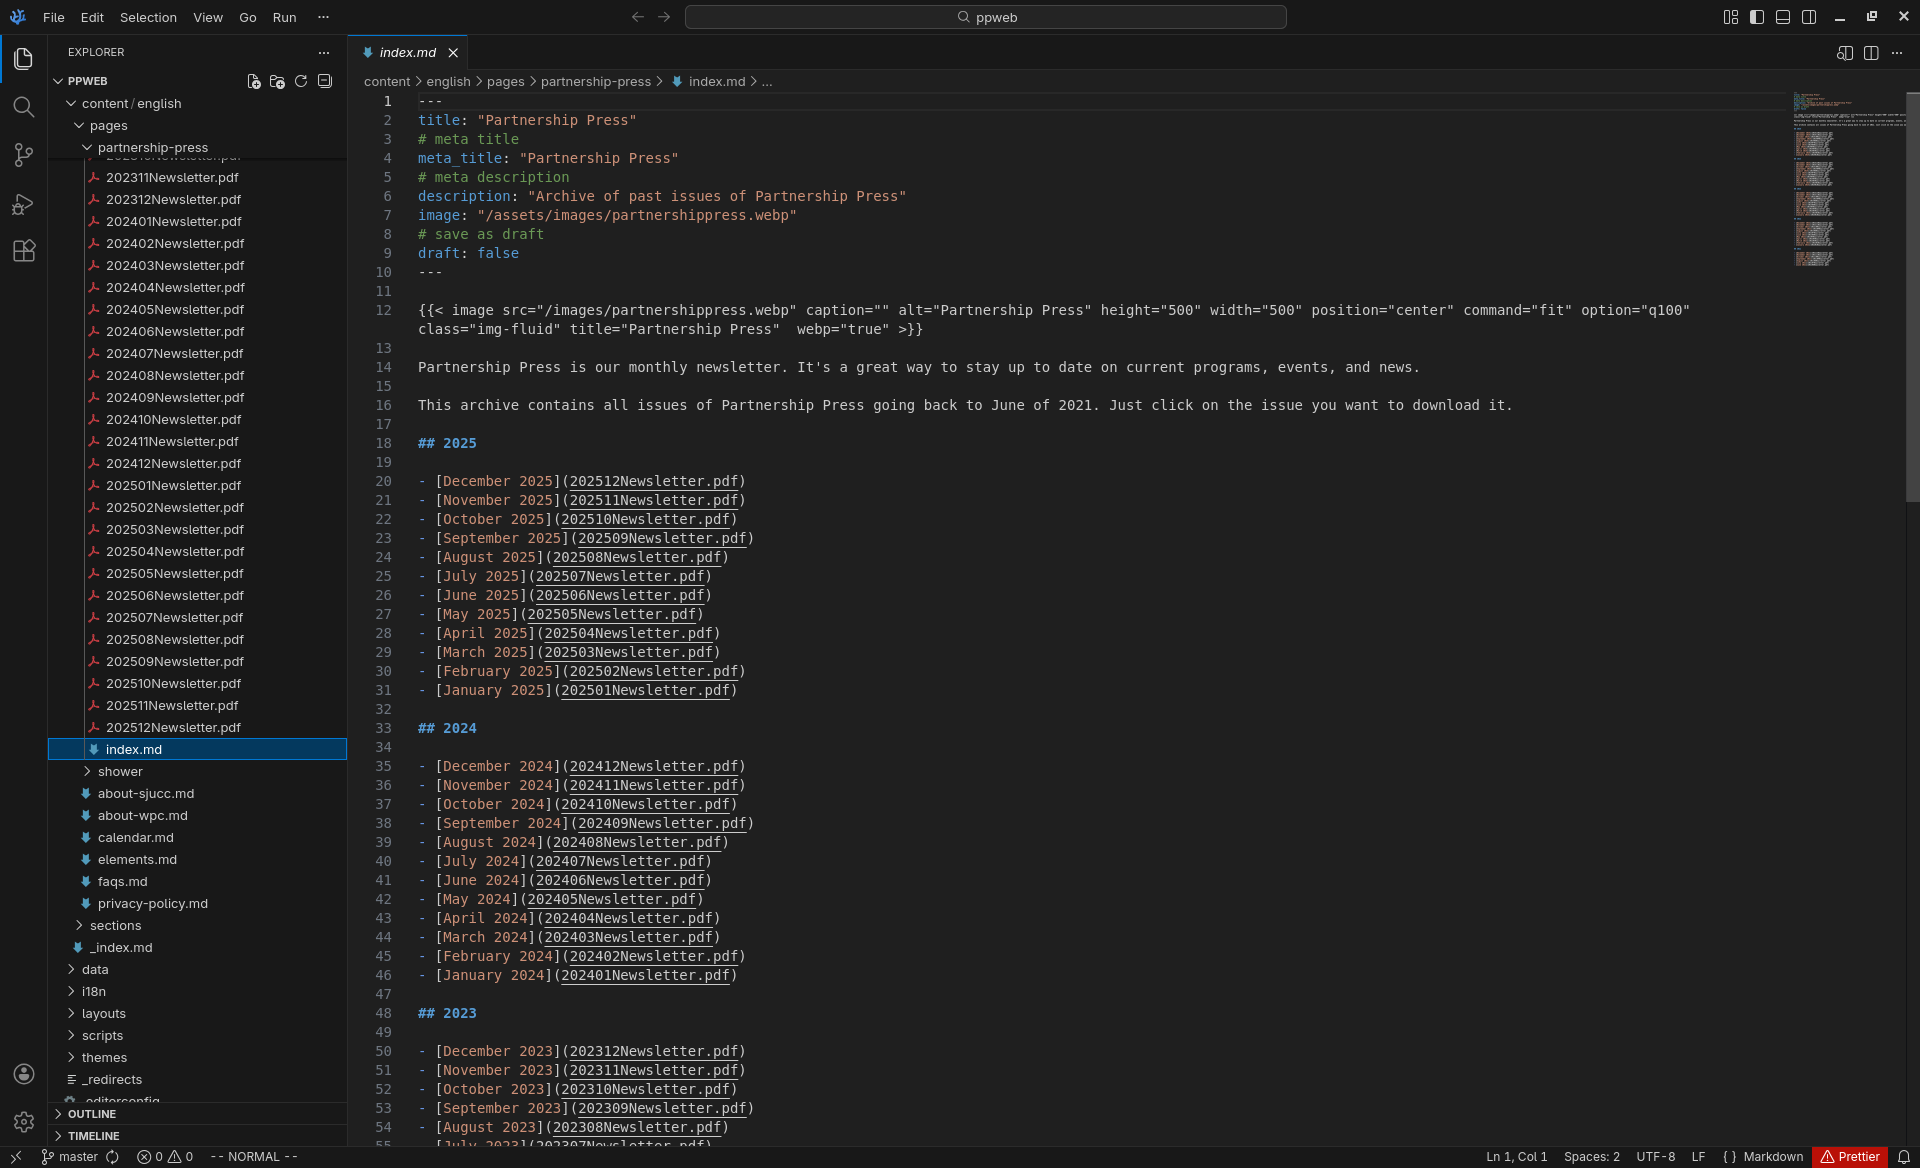
Write a commit message (for example
Add December 2025 newsletter) and click Commit changes.
Option B: On Your Computer
Use this option if you already have the website set up on your computer (see Website). This example uses VSCodium.
Copy the renamed PDF into the folder
content/english/pages/partnership-press.Open
content/english/pages/partnership-press/index.md. Copy last month’s line, paste a copy next to it, and change the month and file name.Commit your changes with a message like
Add December 2025 newsletter.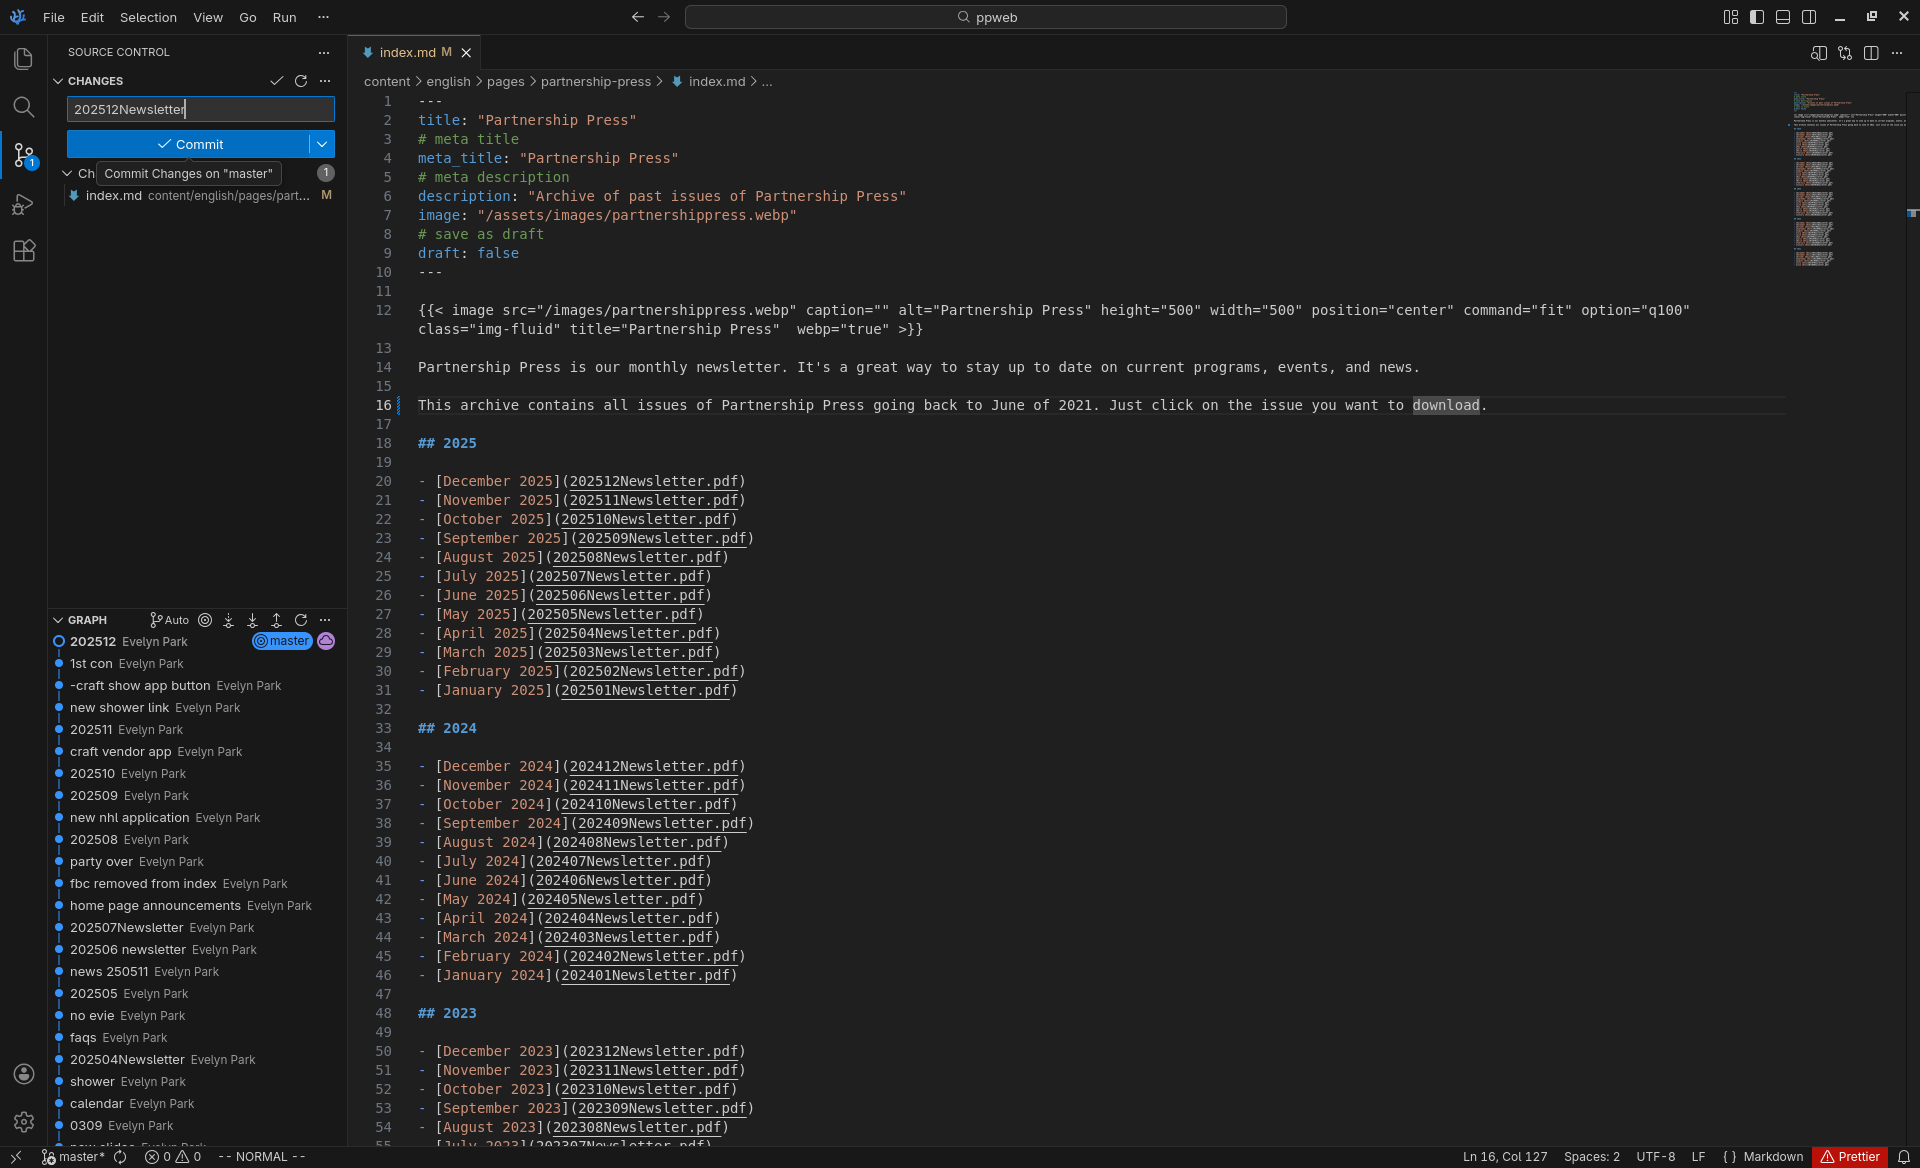
Push (sync) the commit to GitLab.
Check That It Worked
The website updates itself a few minutes after your change. Wait about 5 minutes, open the Partnership Press page on partnership.place, and click the new newsletter link. Make sure it opens this month’s PDF before you go on to Step 4.
Step 4: Email It
Go to mailchimp.com and sign in with the church account.
Click Campaigns in the left-hand menu.
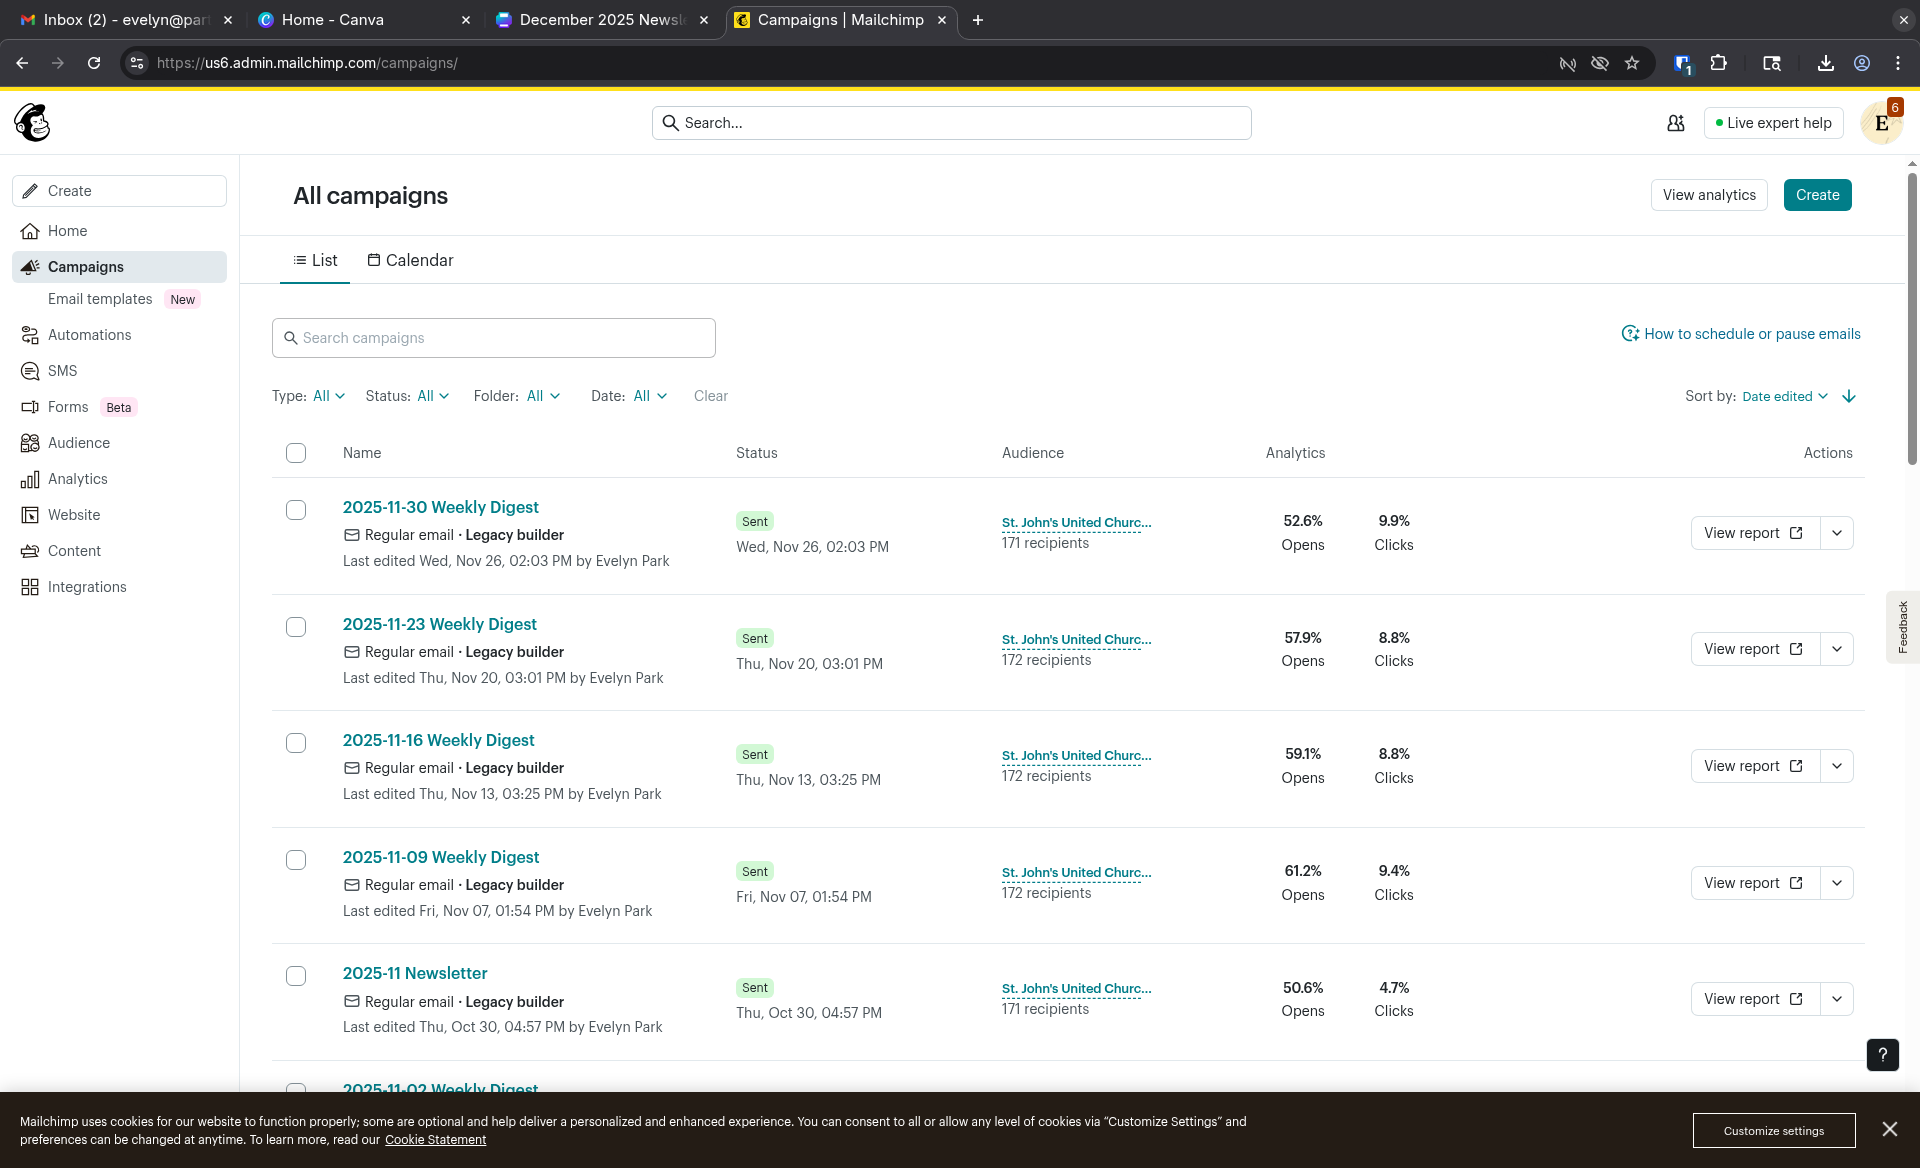
Find last month’s newsletter campaign and click Replicate. This makes a copy for you to edit.
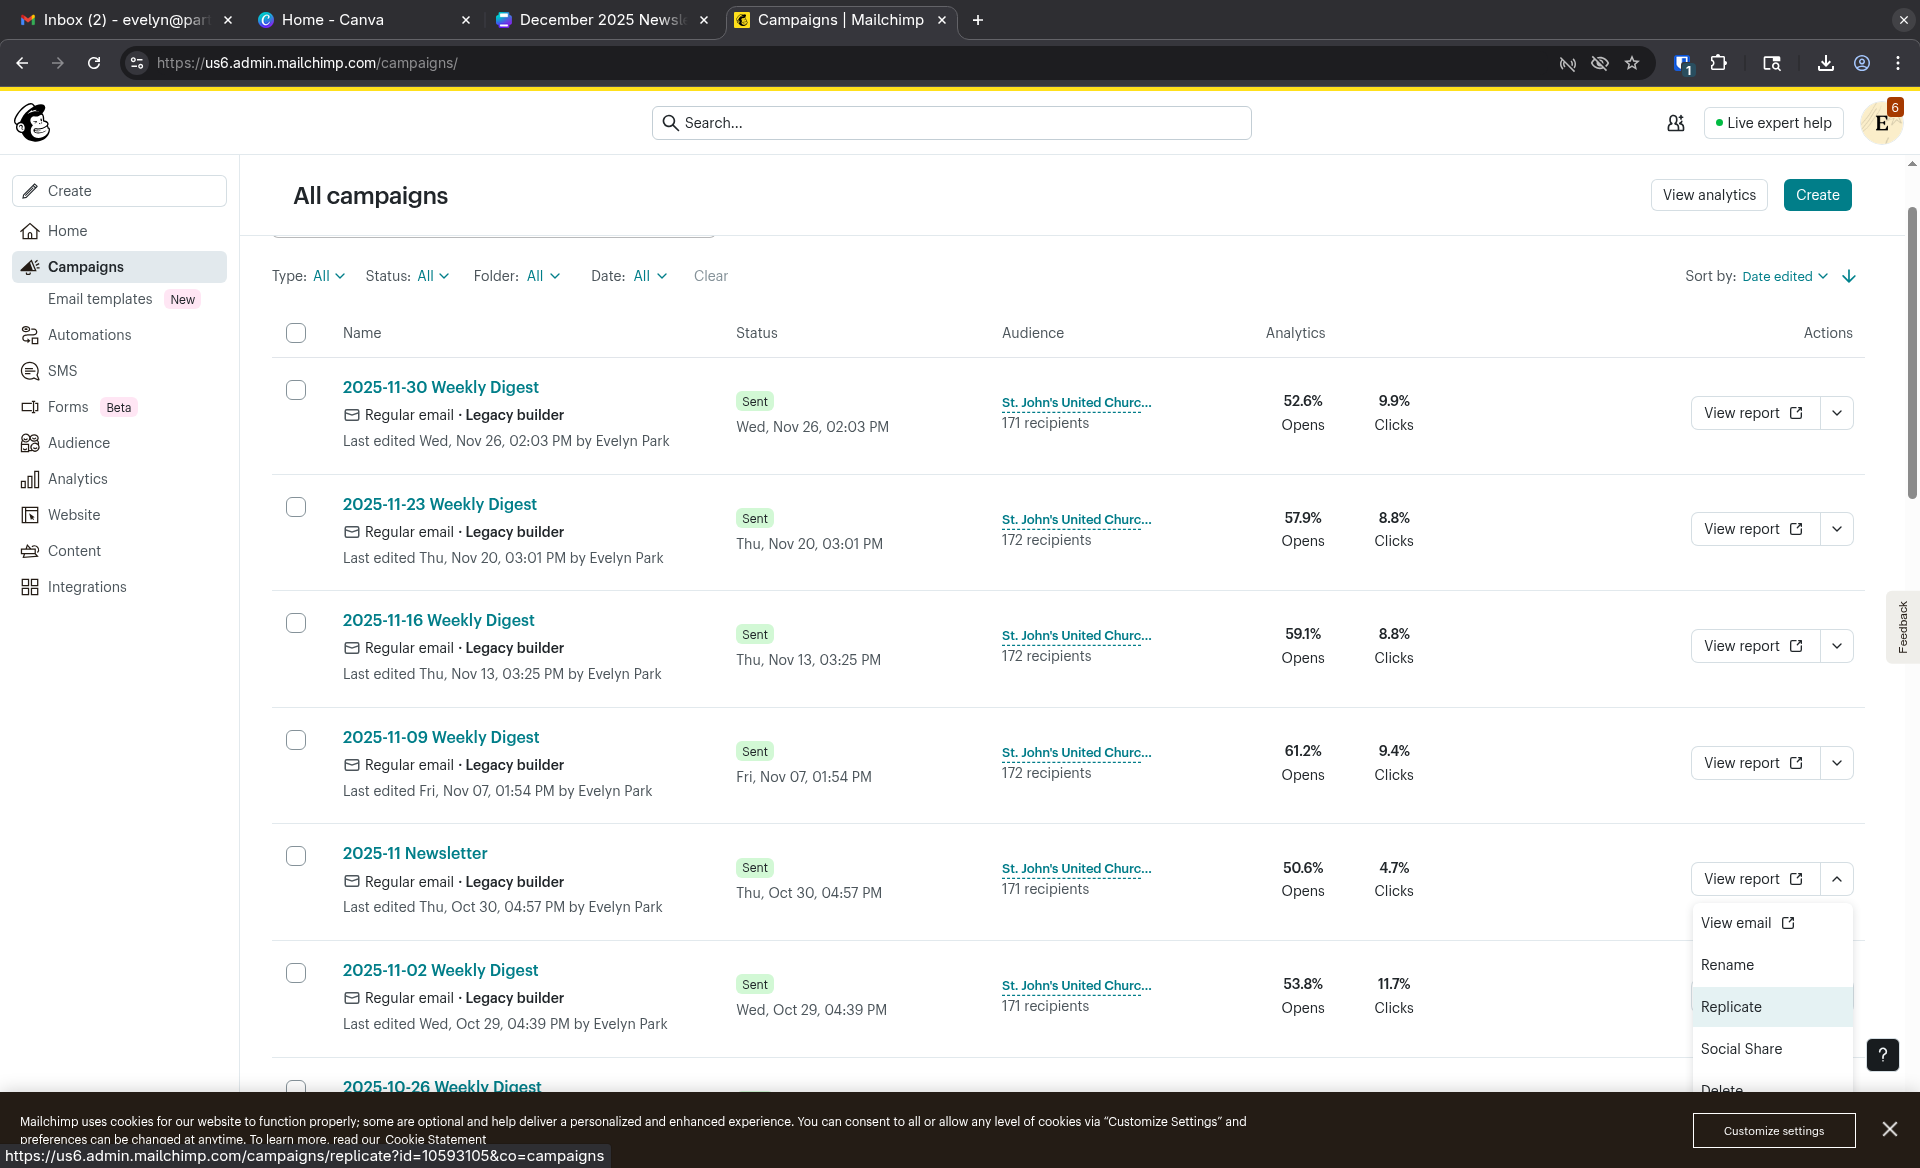
Click Edit name under the title and add this month’s name, so you don’t mix it up with last month’s.
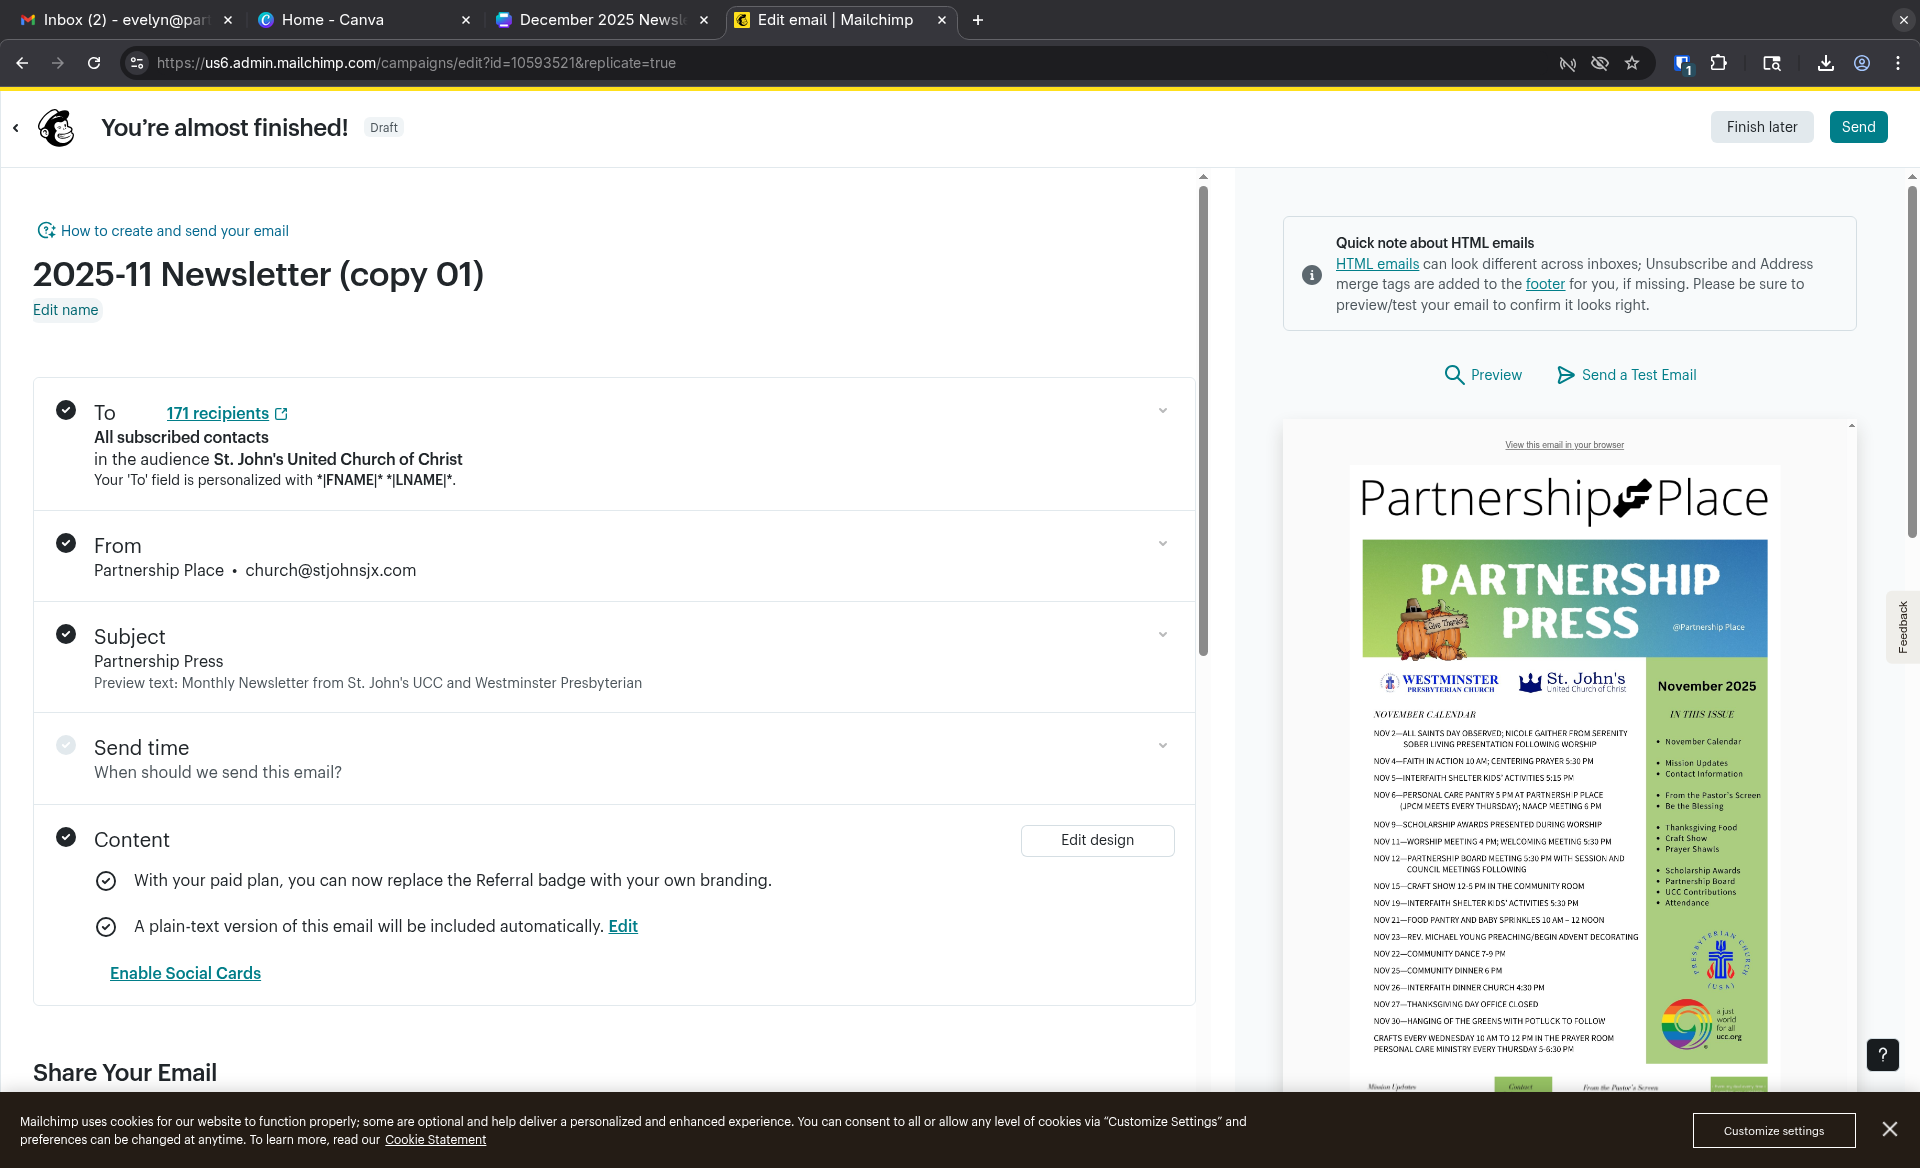
Click the pencil icon in the top-right corner of the image block.
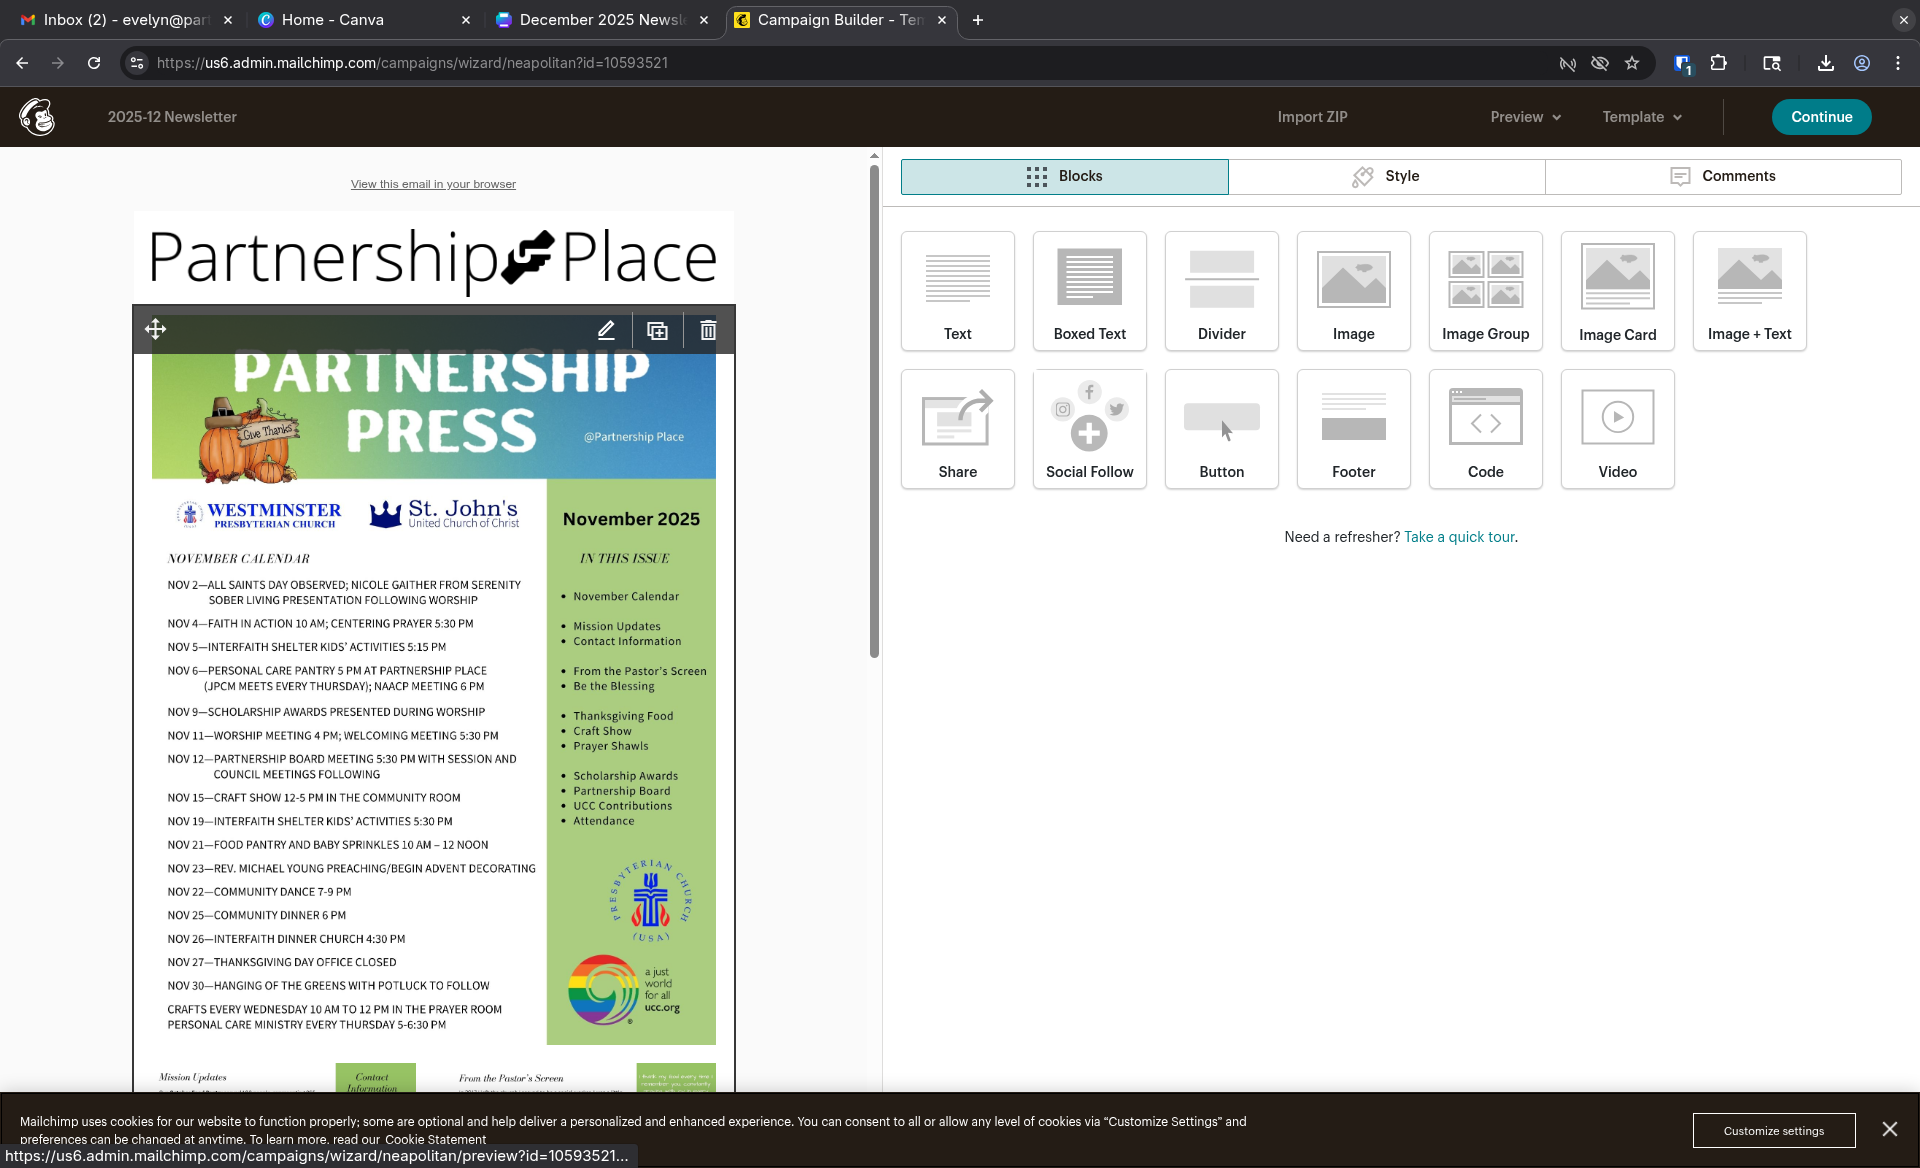
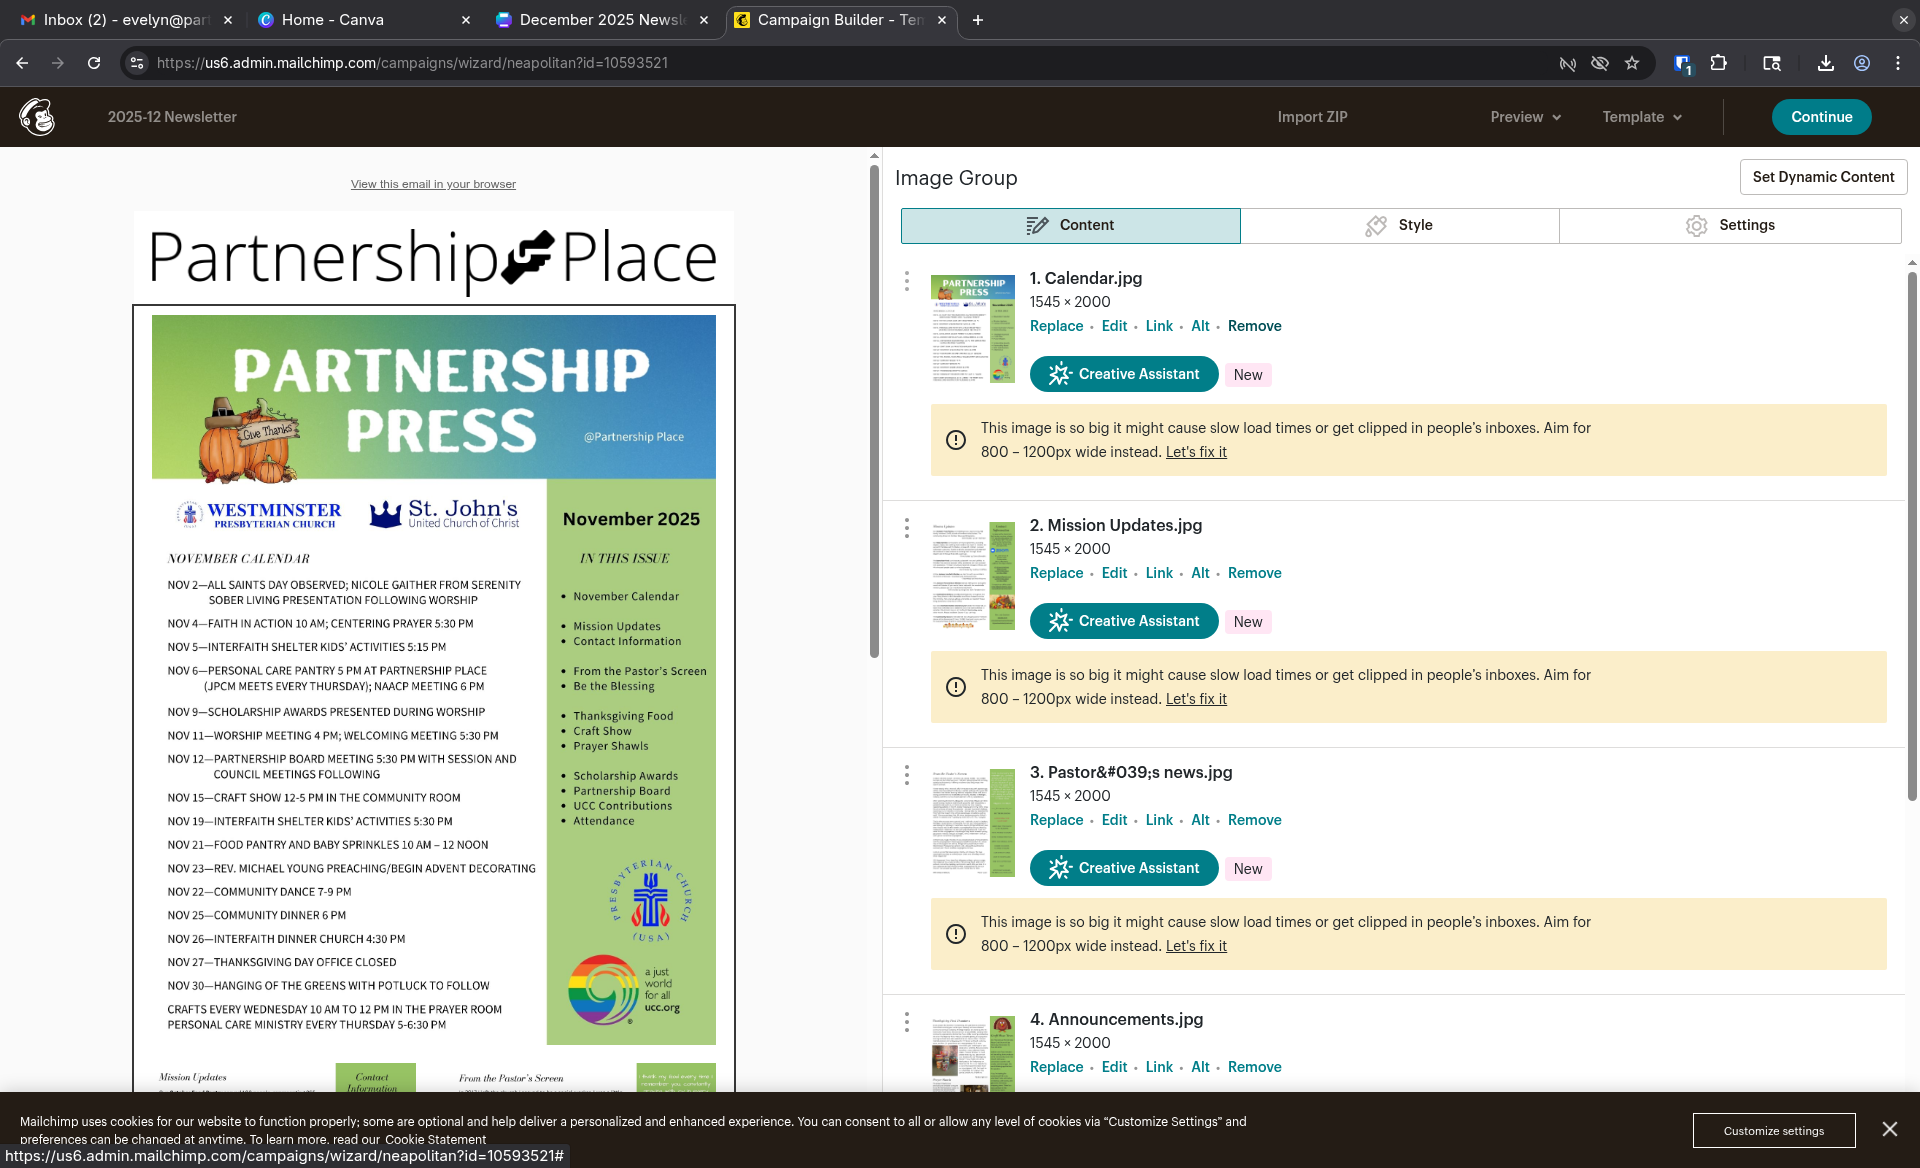
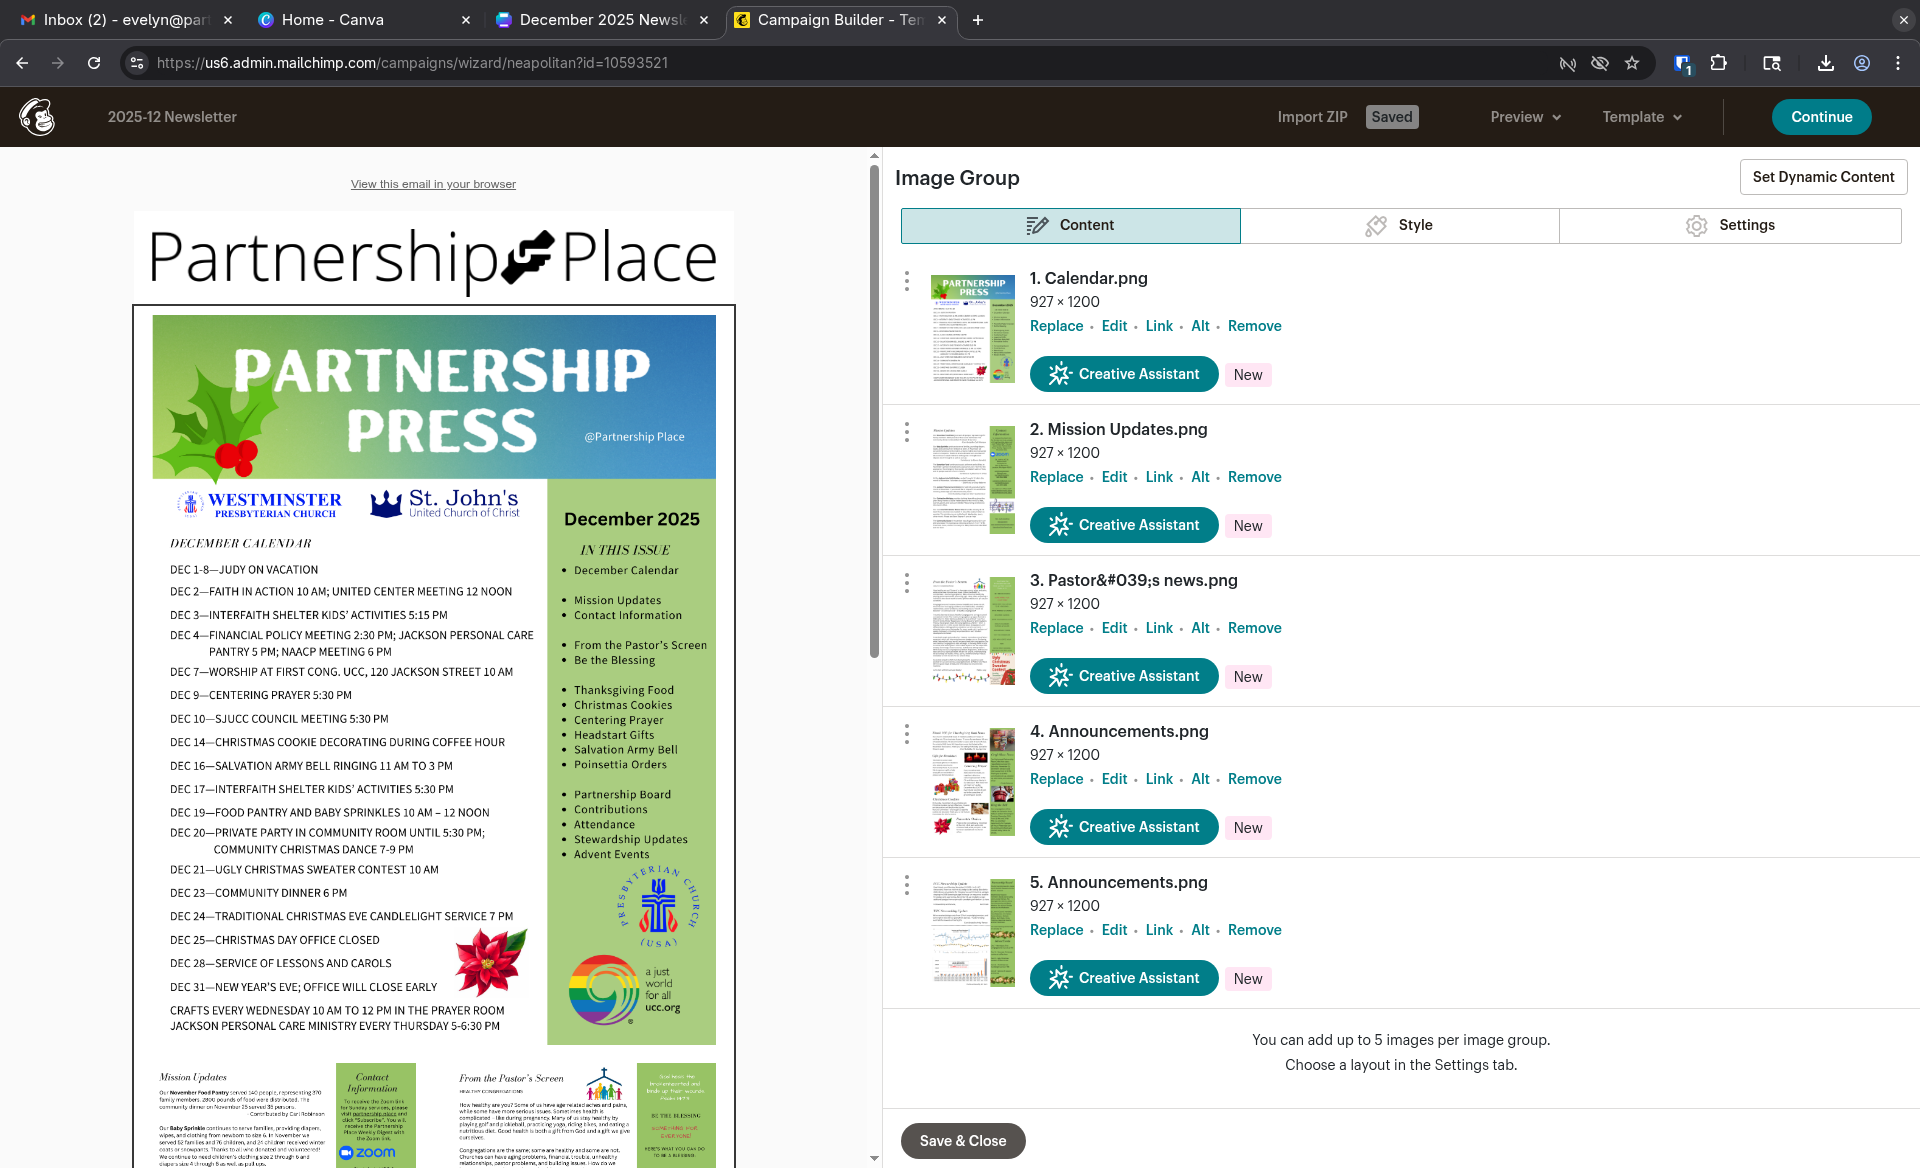
Remove all of last month’s images. Click Remove under each image until none are left.
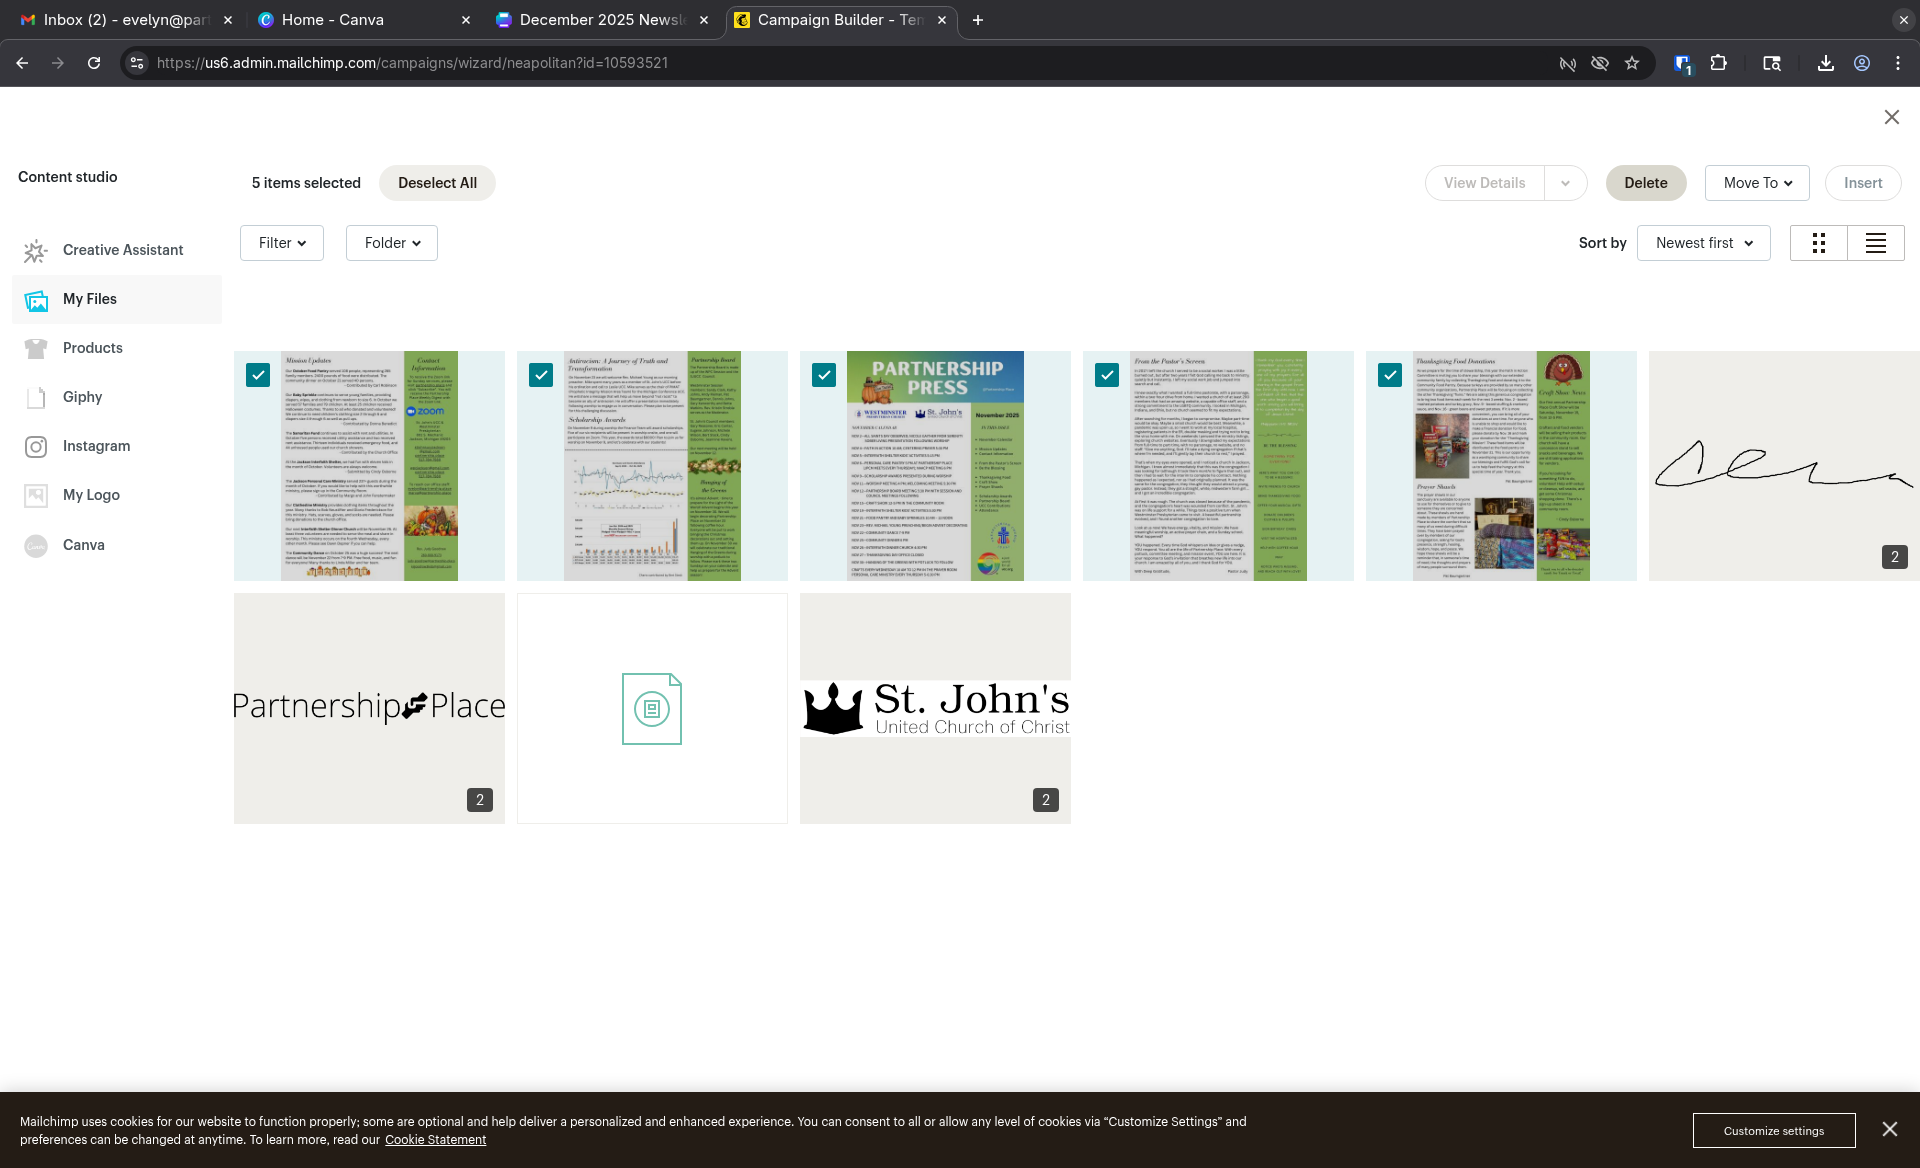
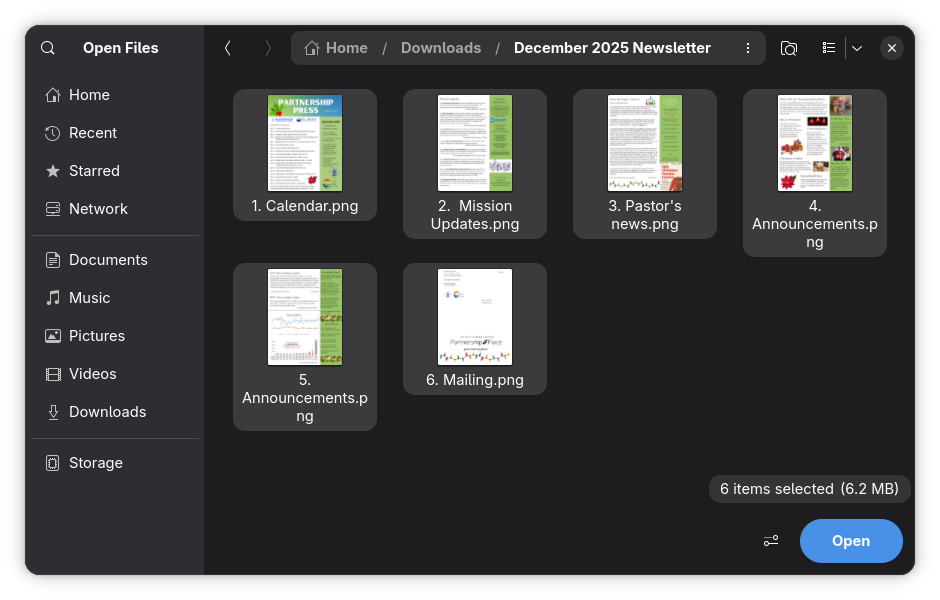
Click Upload and choose the PNG images you downloaded in Step 1. Add them to the image block one at a time.
Drag each image by its handle (☰) until they’re in page order: page 1 at the top.
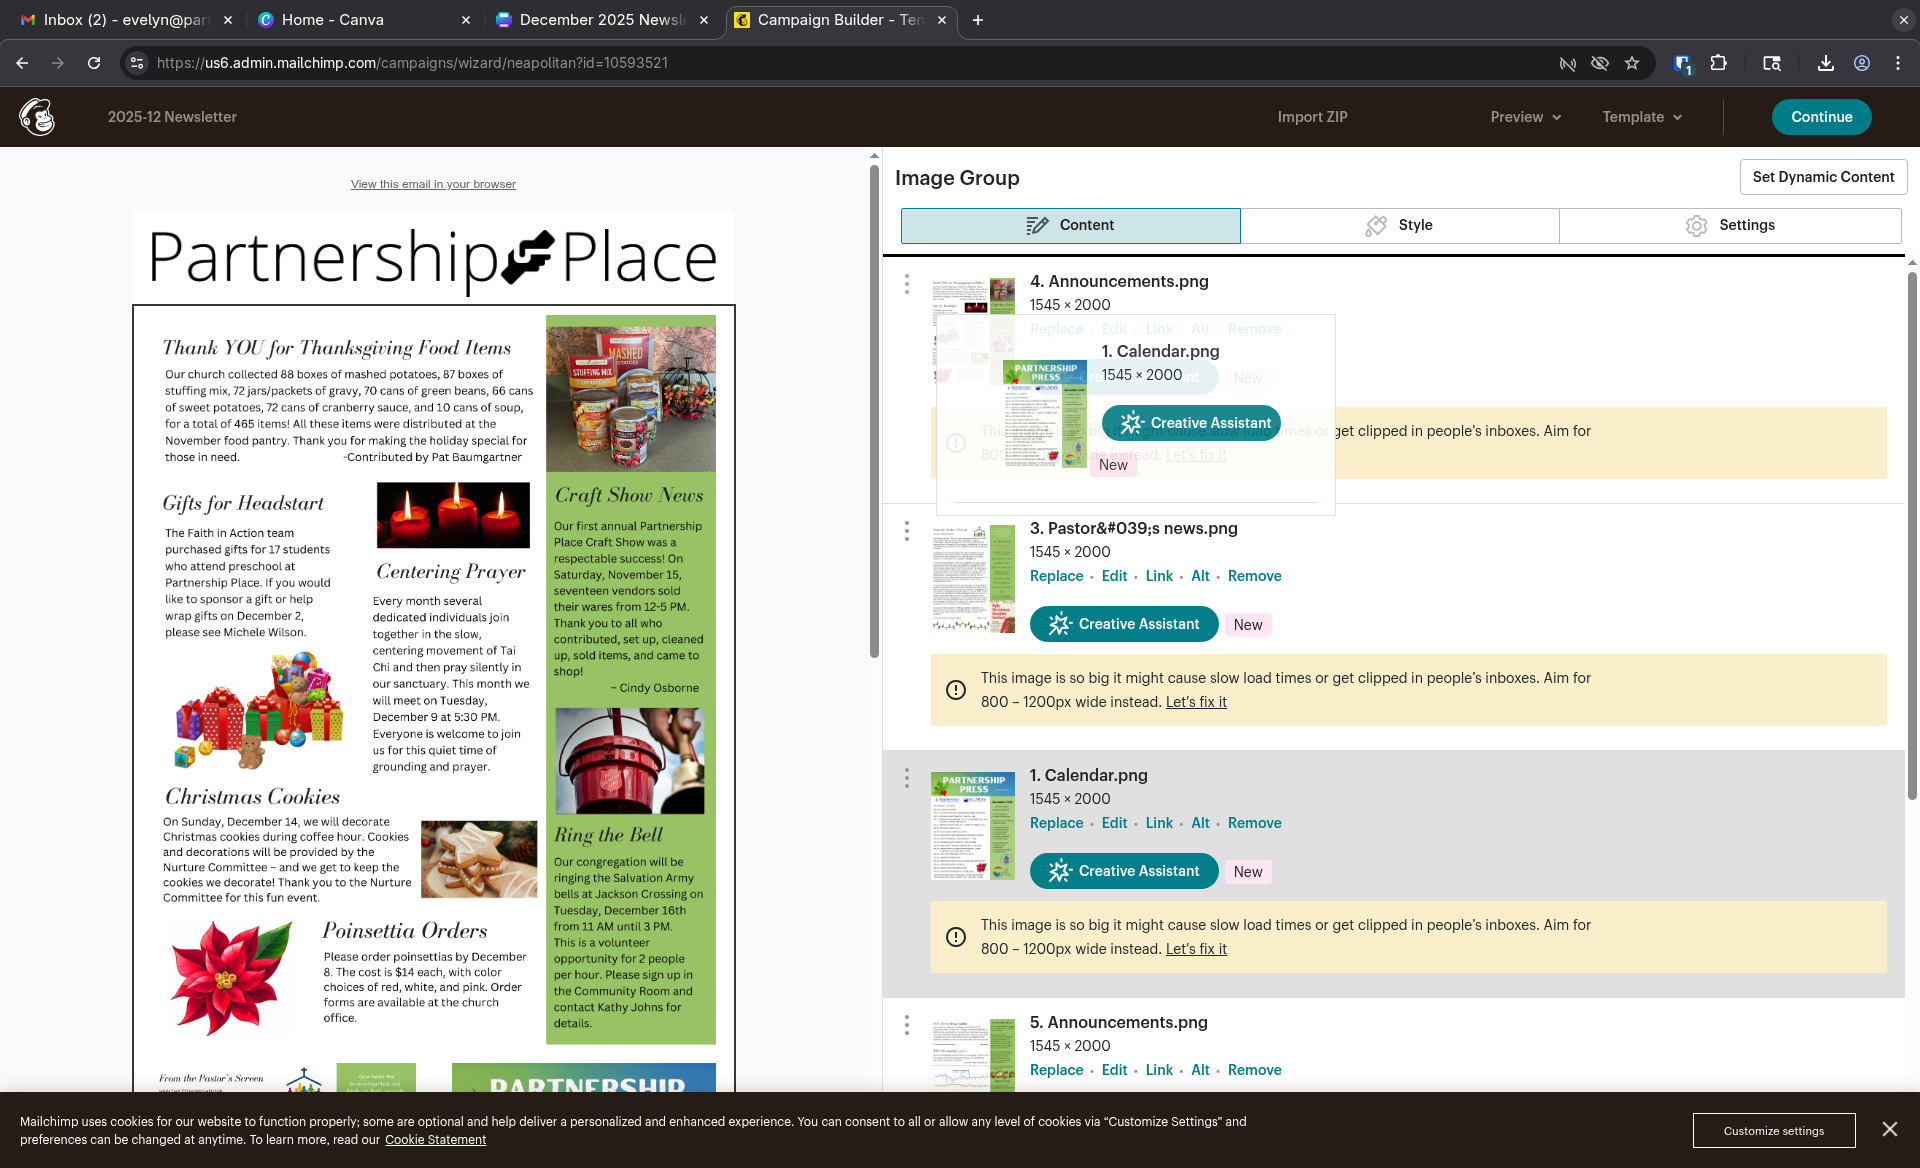
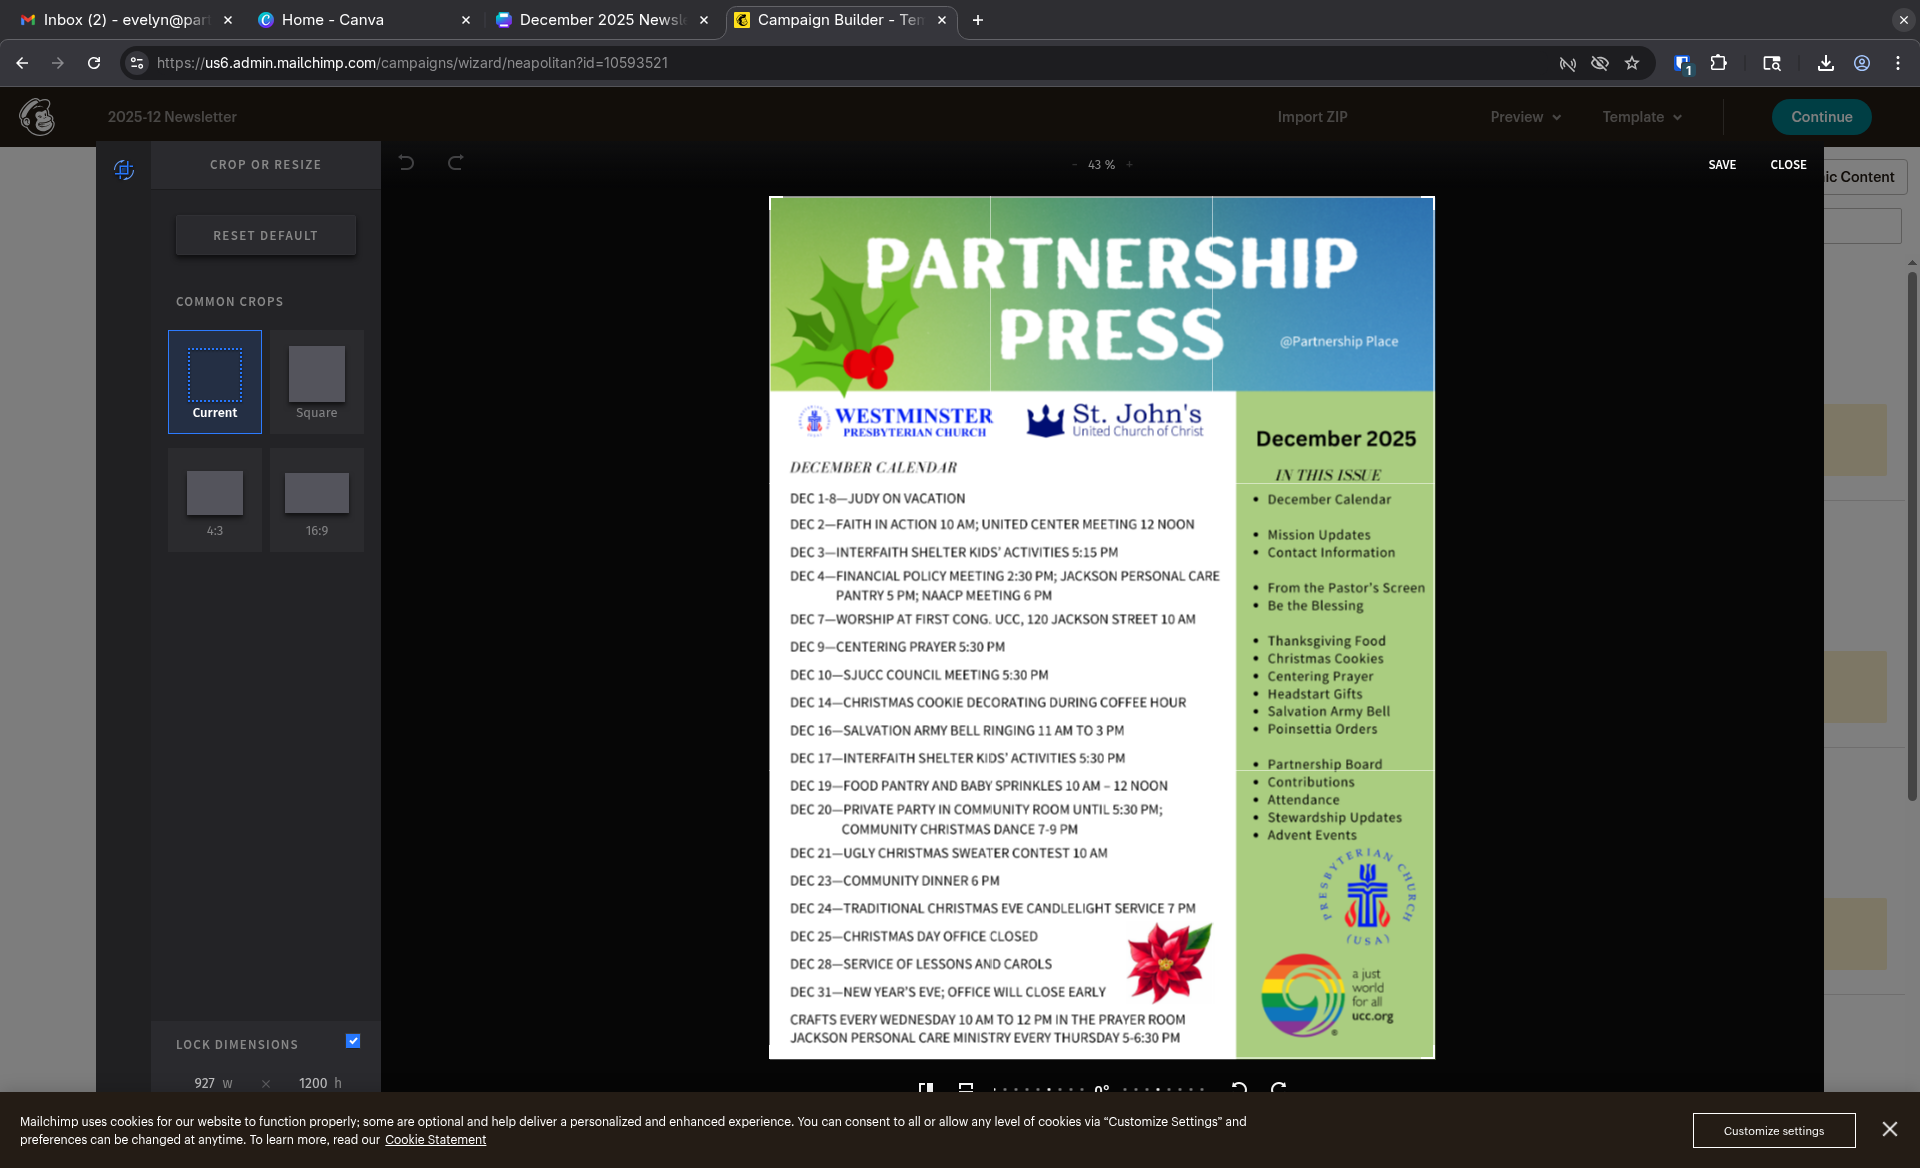
Mailchimp will warn you about the image size. Under each image, click Let’s fix it, then click Save without changing anything. Mailchimp fixes the size by itself when the editor opens. Do this for every image.
Scroll down and click the pencil icon on the button block.
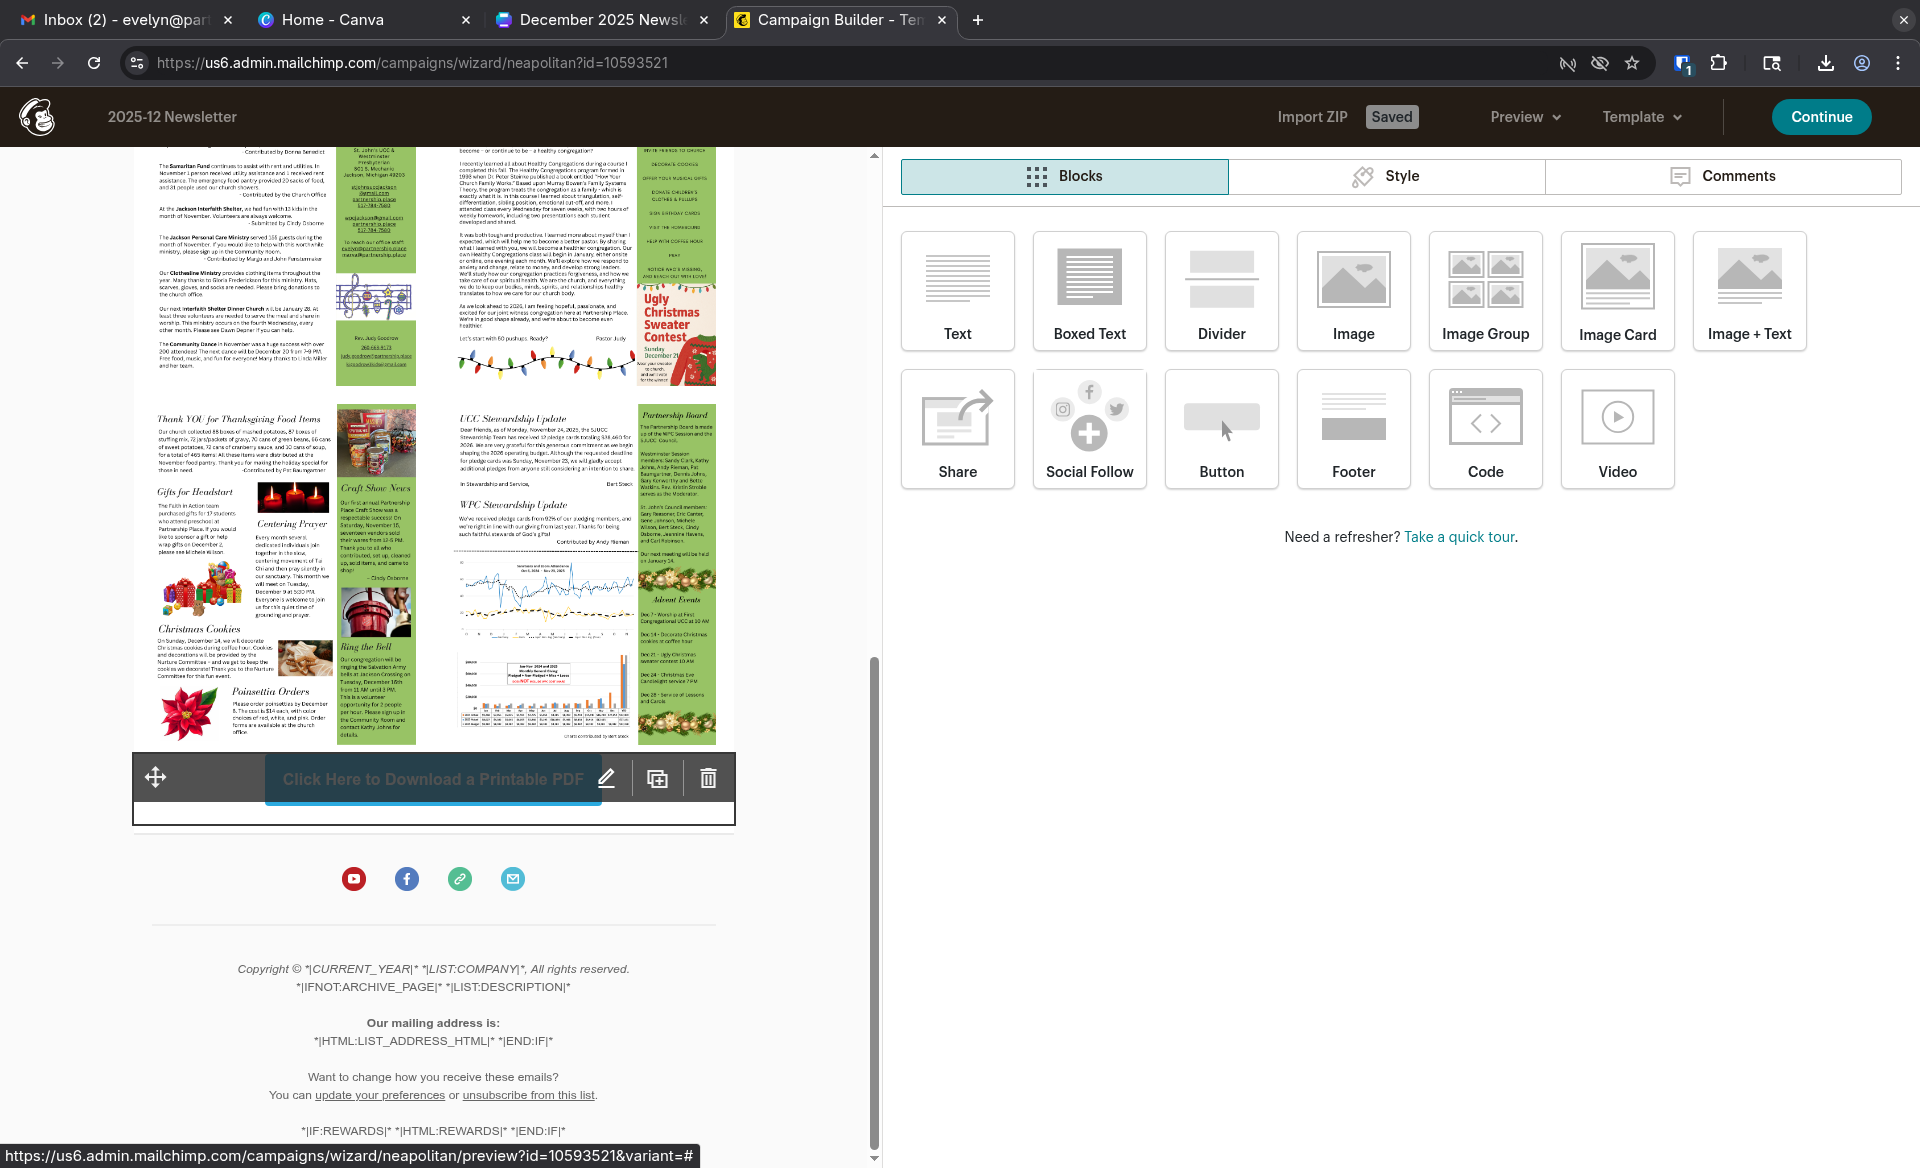
Change the button’s link to point to this month’s PDF. Usually you only need to change the date in the file name, for example
202511Newsletter.pdf→202512Newsletter.pdf.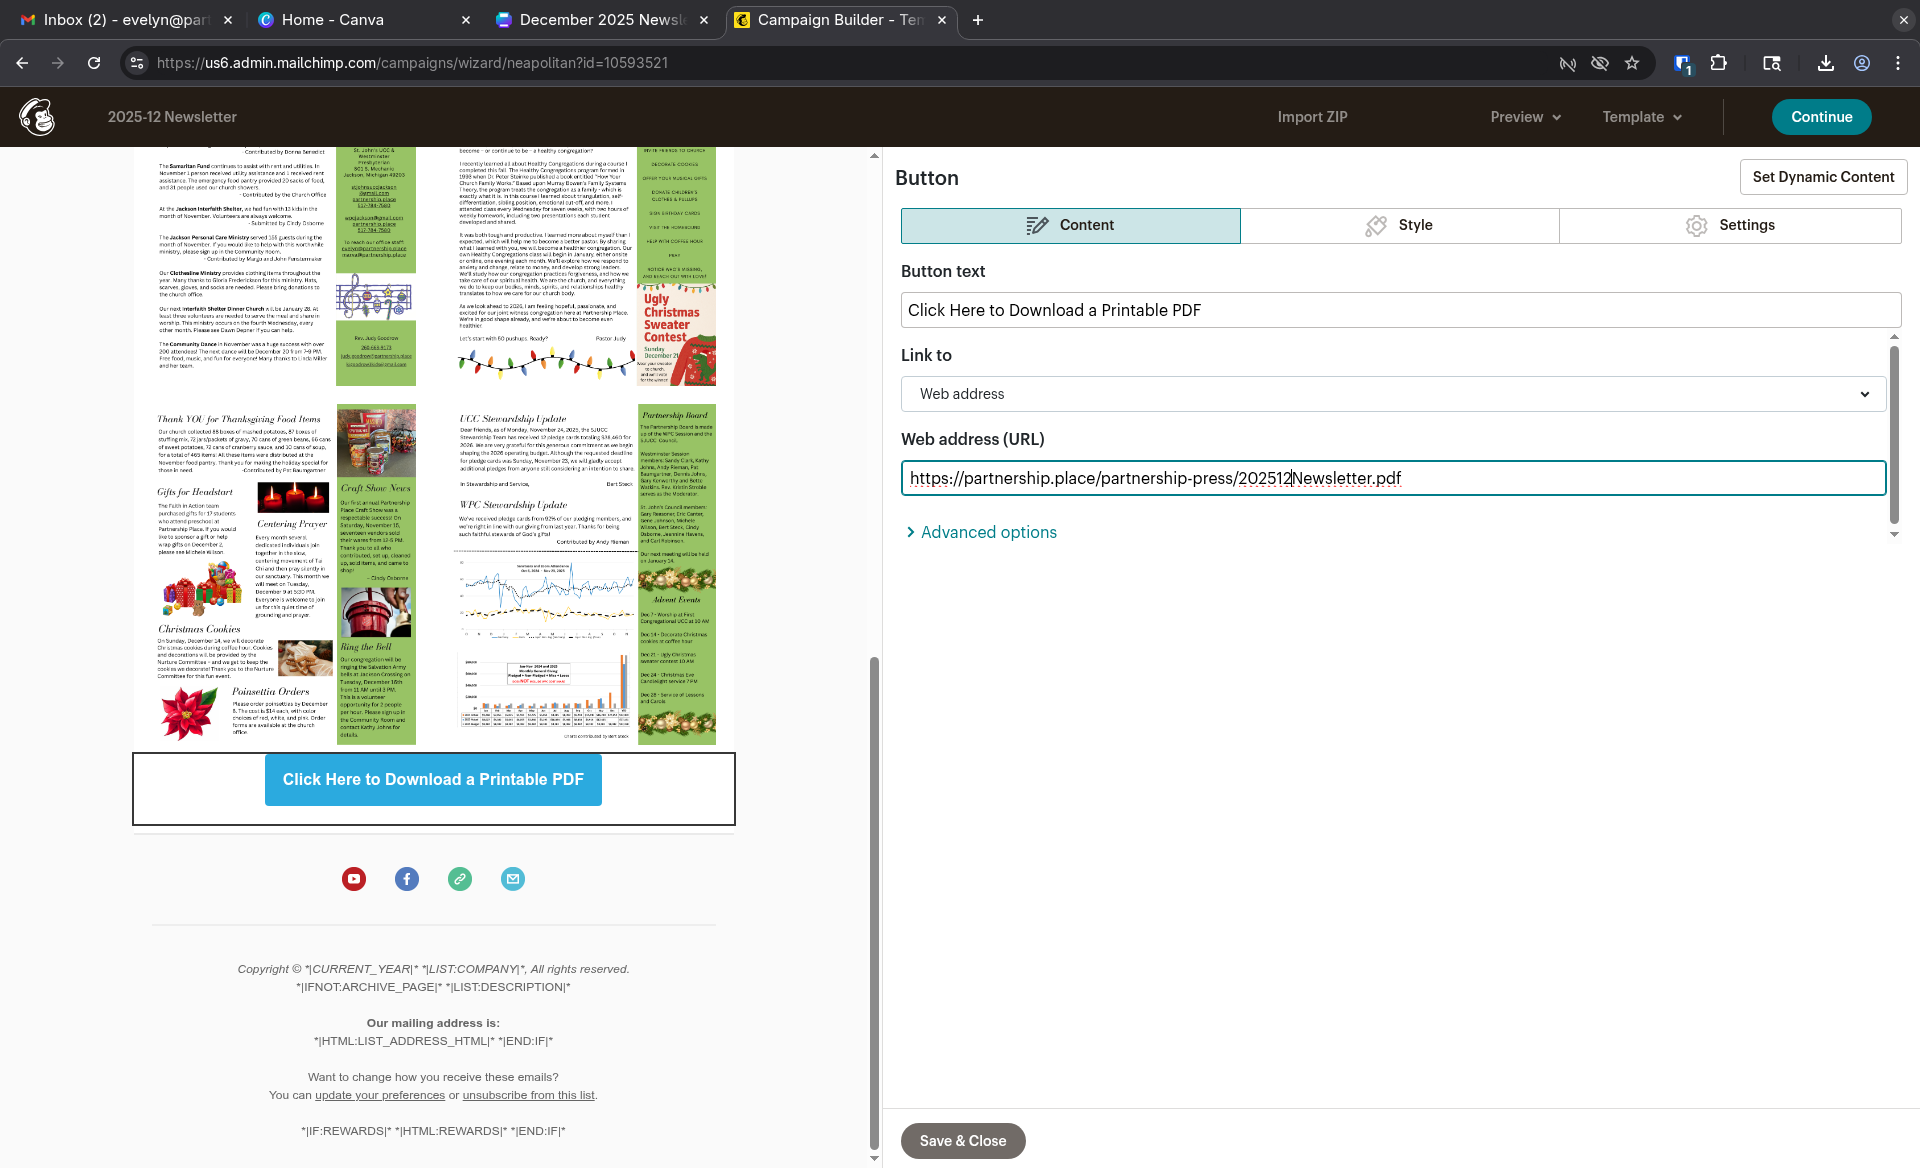
Click Continue.
Click Send time and choose to send now. This doesn’t send anything yet.
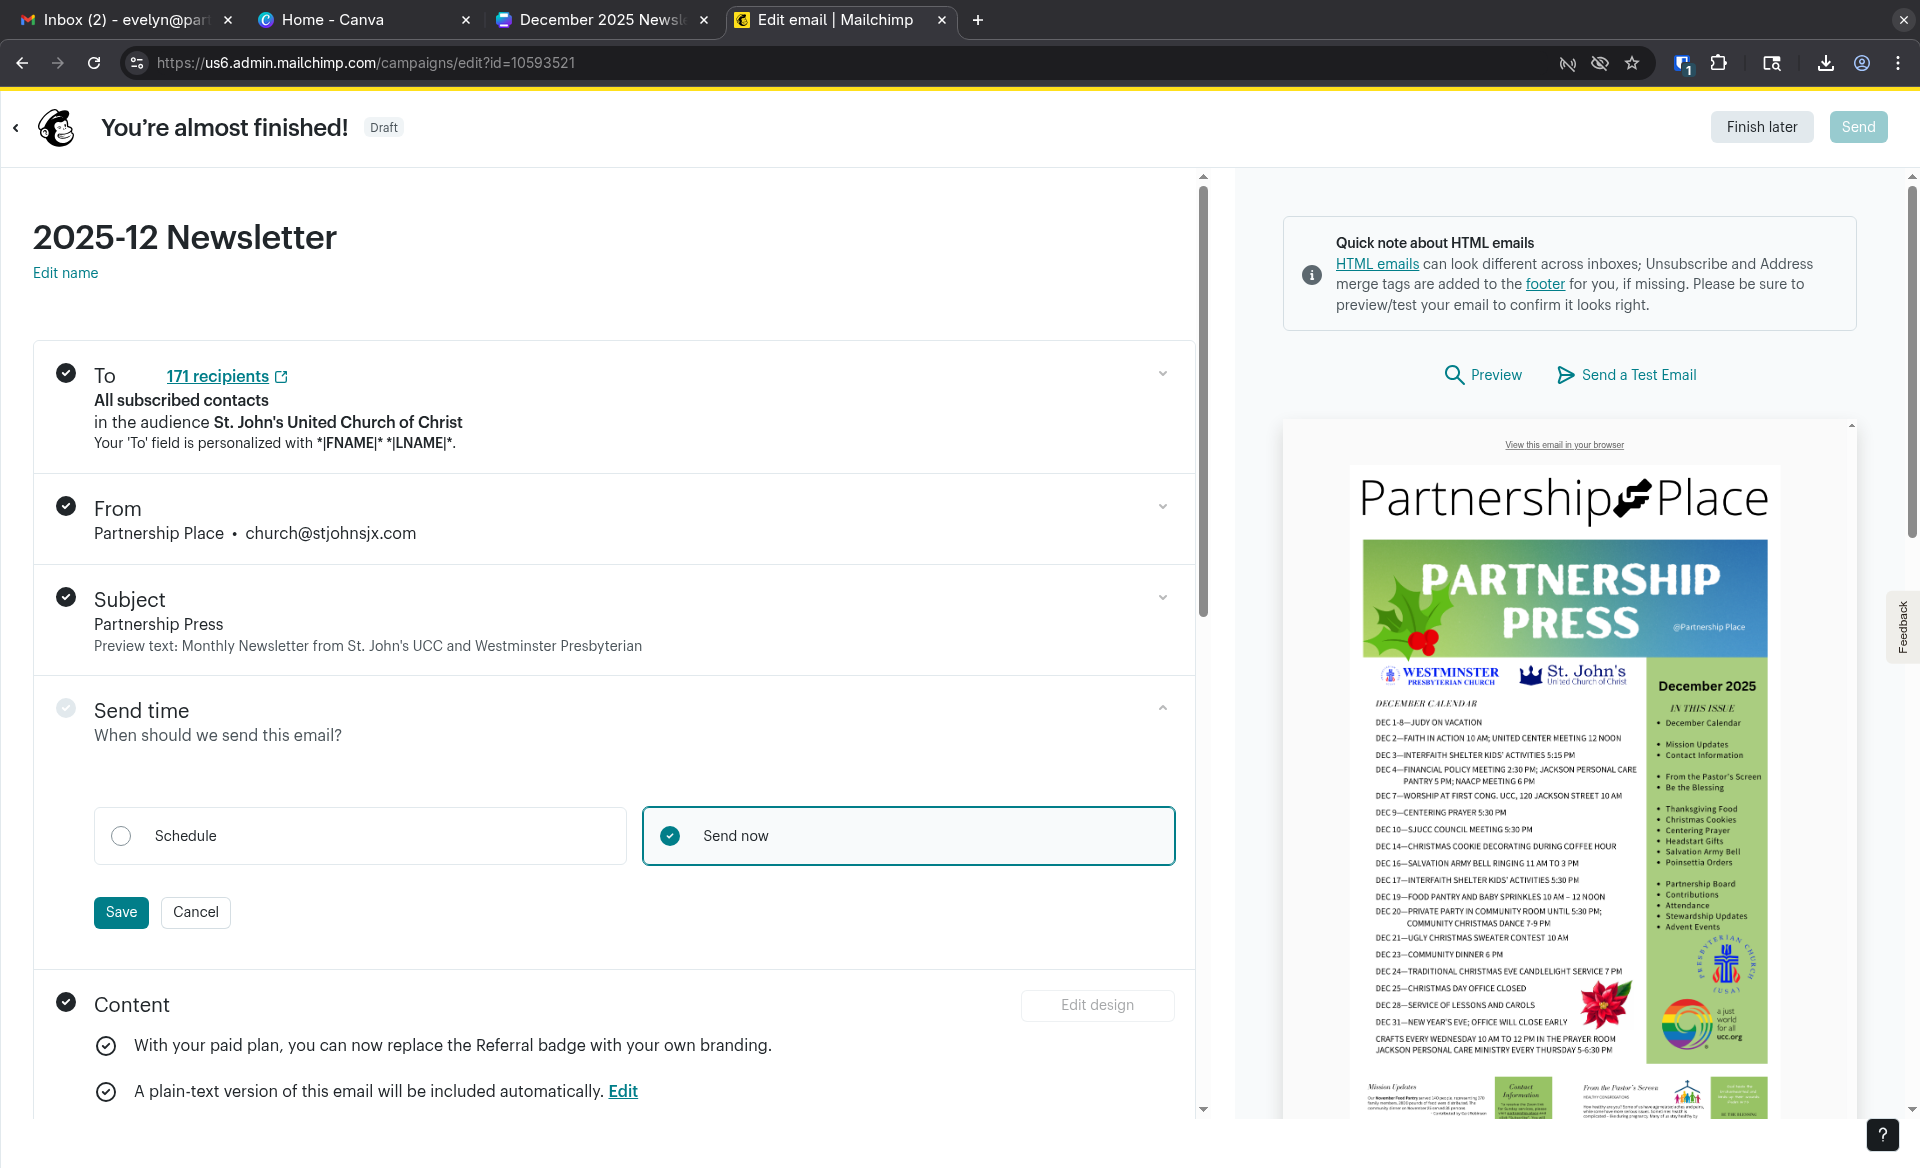
Recommended: click Send a Test Email and send one to yourself. Check that the images are in the right order and that the button opens this month’s PDF.
Click Send in the top-right corner.
An email can’t be unsent. Check the test email before you click Send.
After you send it, remember to update the newsletter link in the next Weekly Digest.